VeloViewer / StatHunters - Explorer
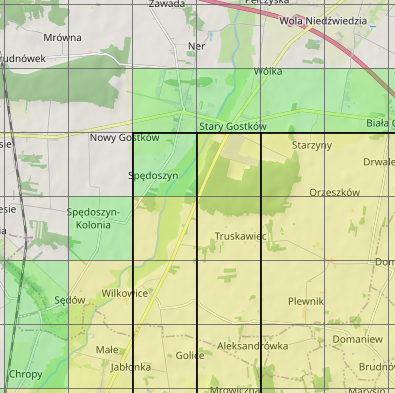
Generic Overlay
Configure for VeloViewer
VeloViewer ID
You can find your VeloViewer ID in URL bar at veloviewer.com - it's the number behind /athlete/.
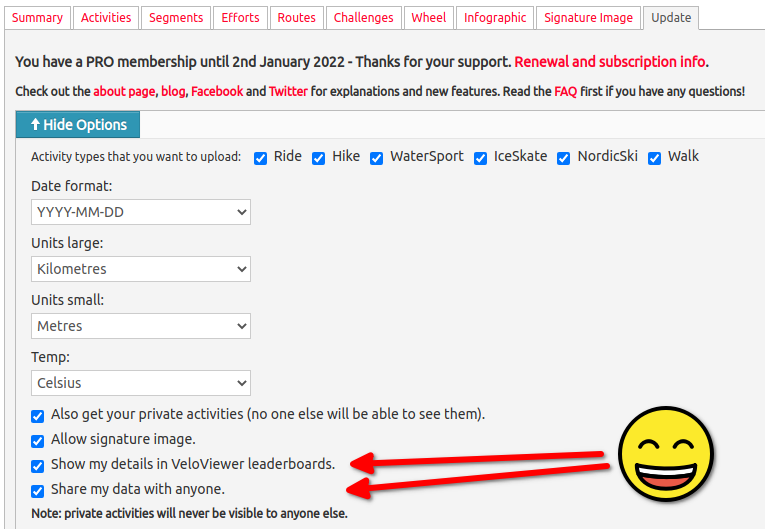
You need to enable Share my data with anyone and Show my details in the VeloViewer leaderboard in VeloViewer Options.
Configure for StatHunters
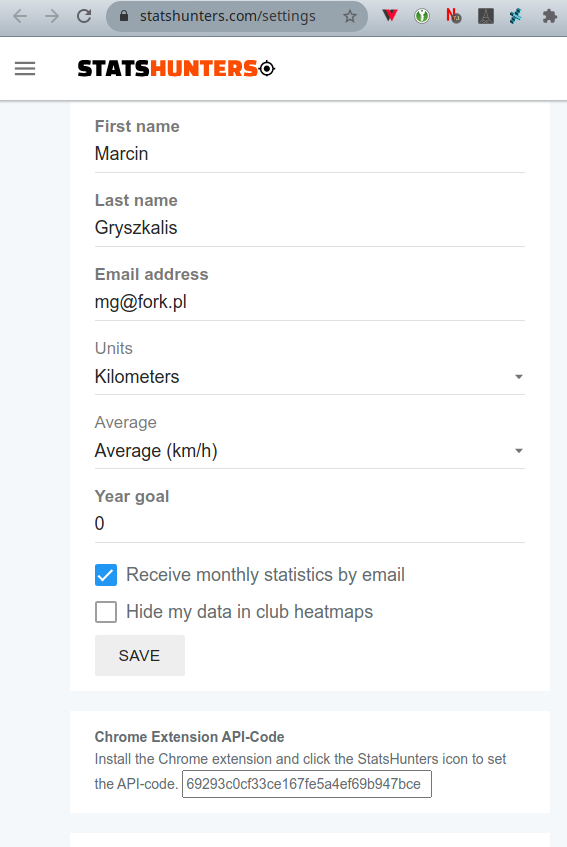
StatHunters API key
You can find your API key in StatHunters Settings: https://www.statshunters.com/settings
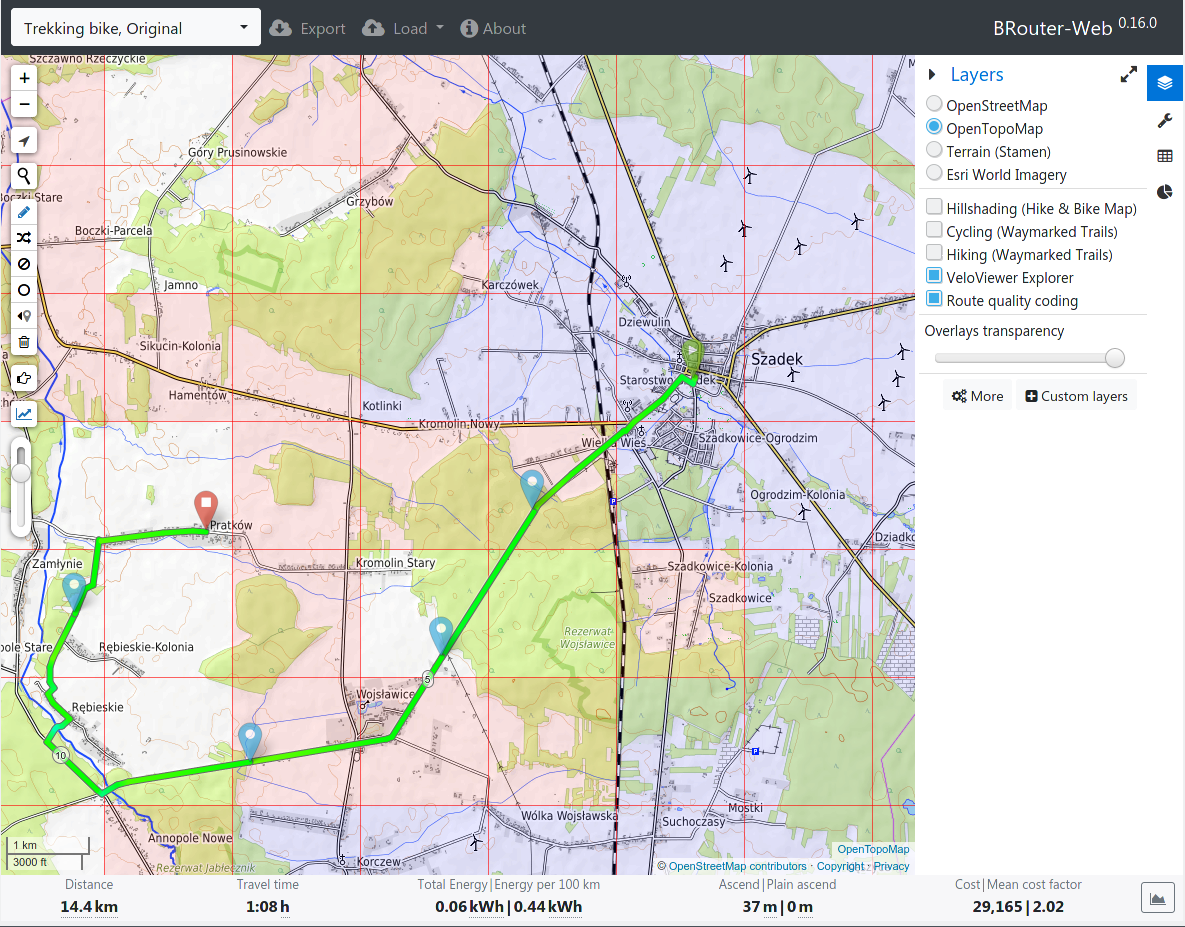
Setup BRouter Web
BRouter Planner web interface: https://brouter.de/brouter-web
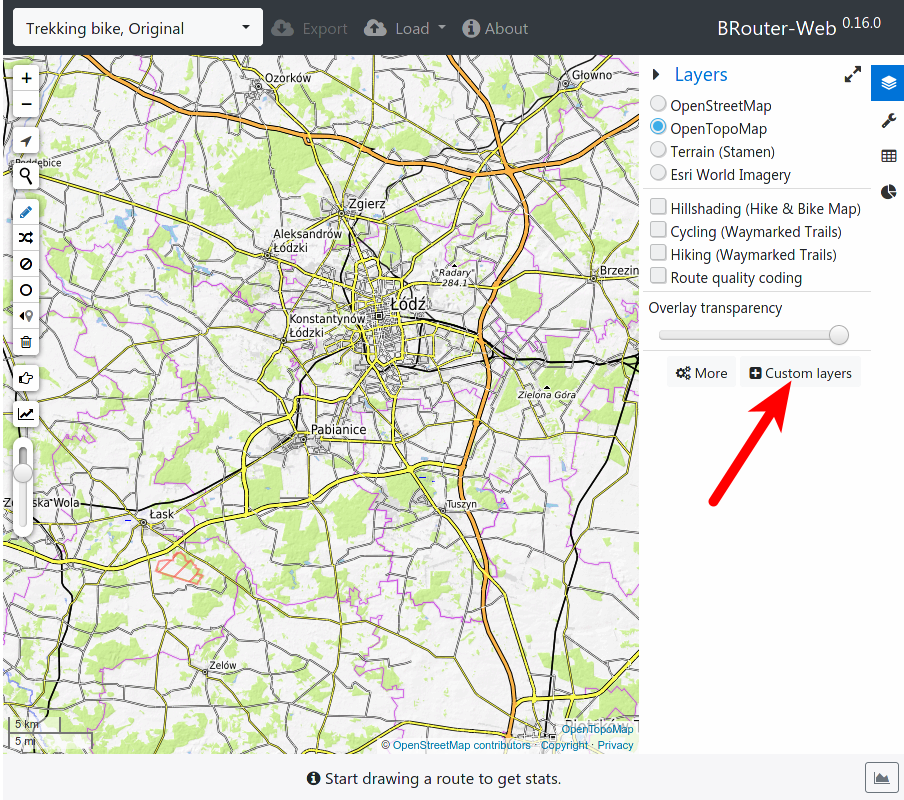
Step 1 - choose Custom Layers
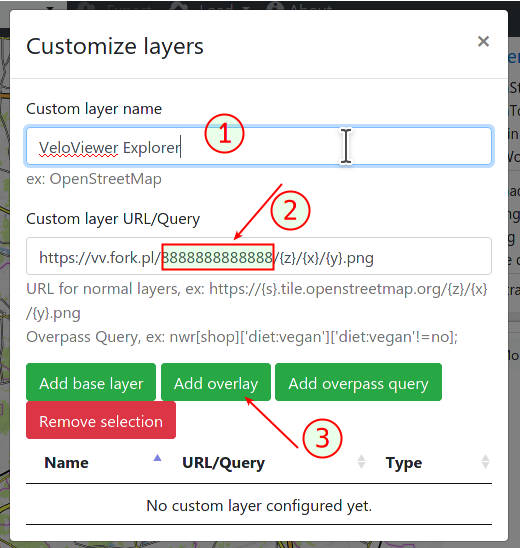
Step 2 - Fill the Customize Layers form
- Name of the layer
- Layer URL (with your VeloViewer ID)
*** setup VeloViewer ID or StatHunters API key first *** - Add overlay
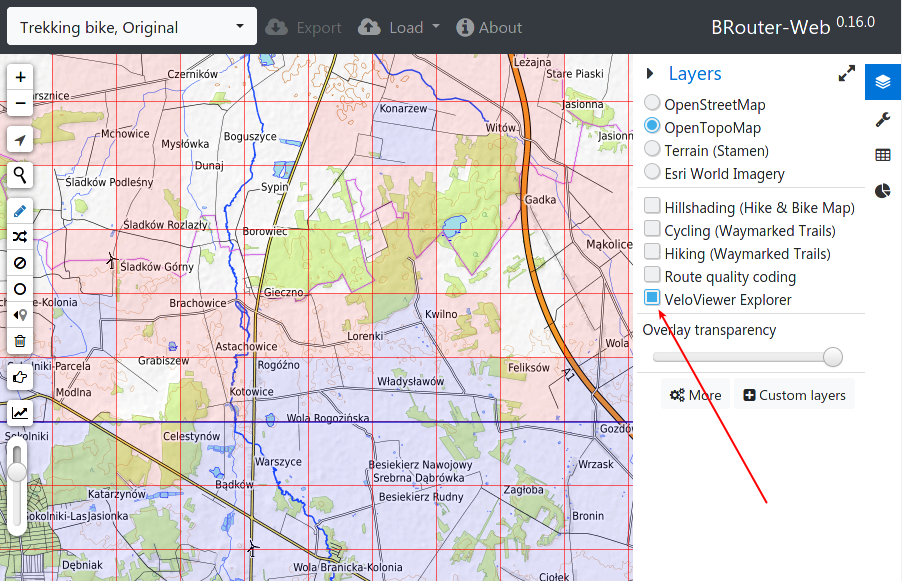
Step 3 - Enable the layer
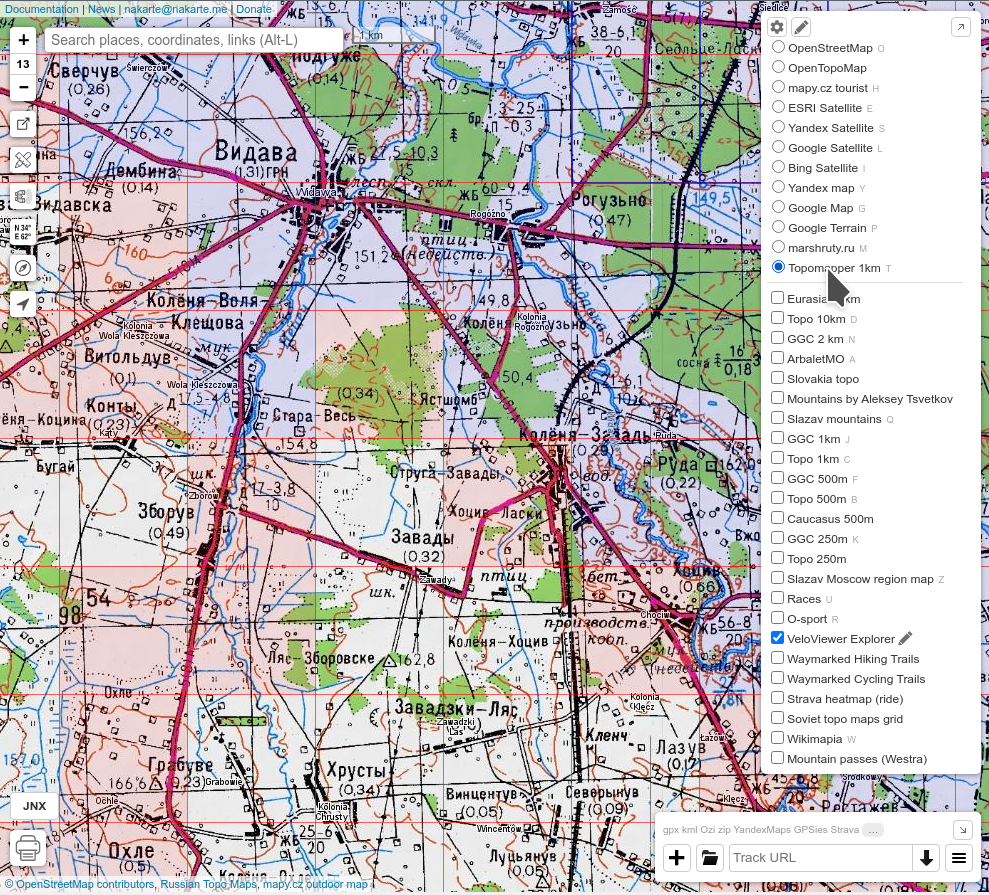
Setup NaKarte.me
NaKarte web interface: https://nakarte.me
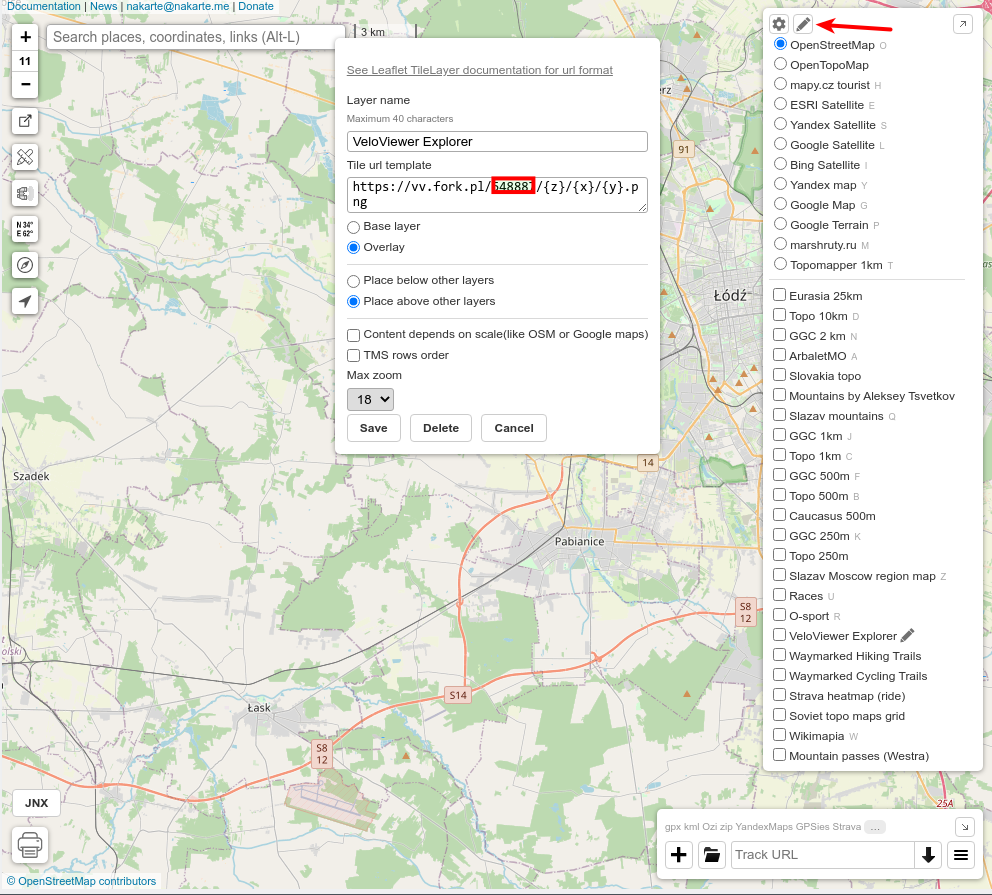
Step 1 - choose Add custom Layer (pencil icon)
Step 2 - Fill the form
- Layer name
- Tile URL template (with your VeloViewer ID)
*** setup VeloViewer ID or StatHunters API key first *** - Choose overlay
- Add layer
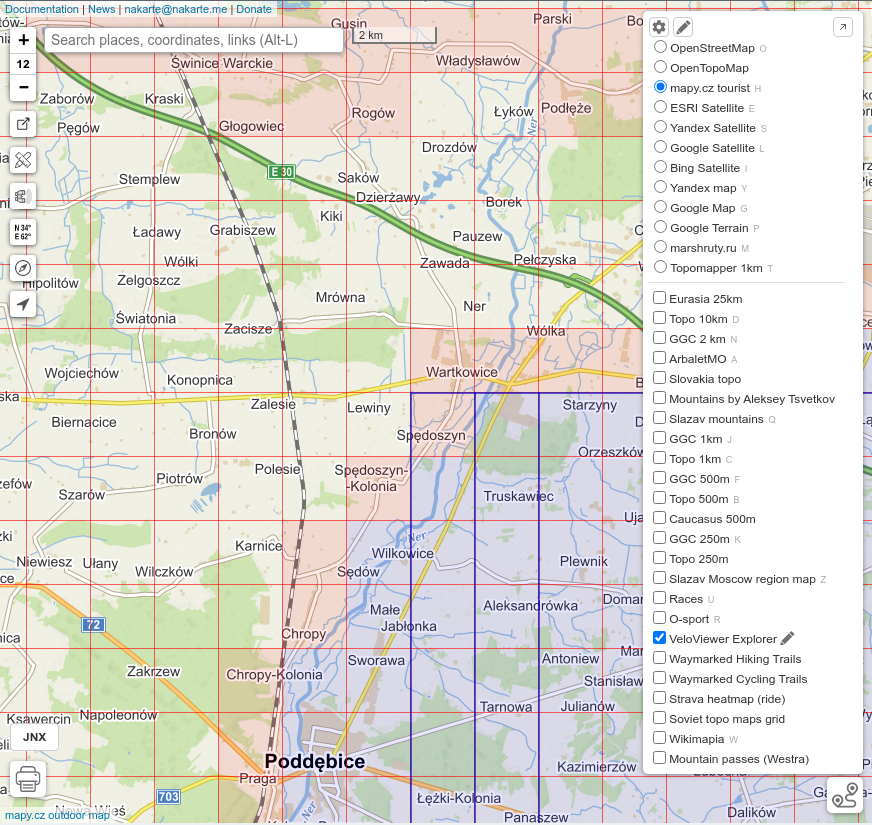
Step 3 - Enable the layer
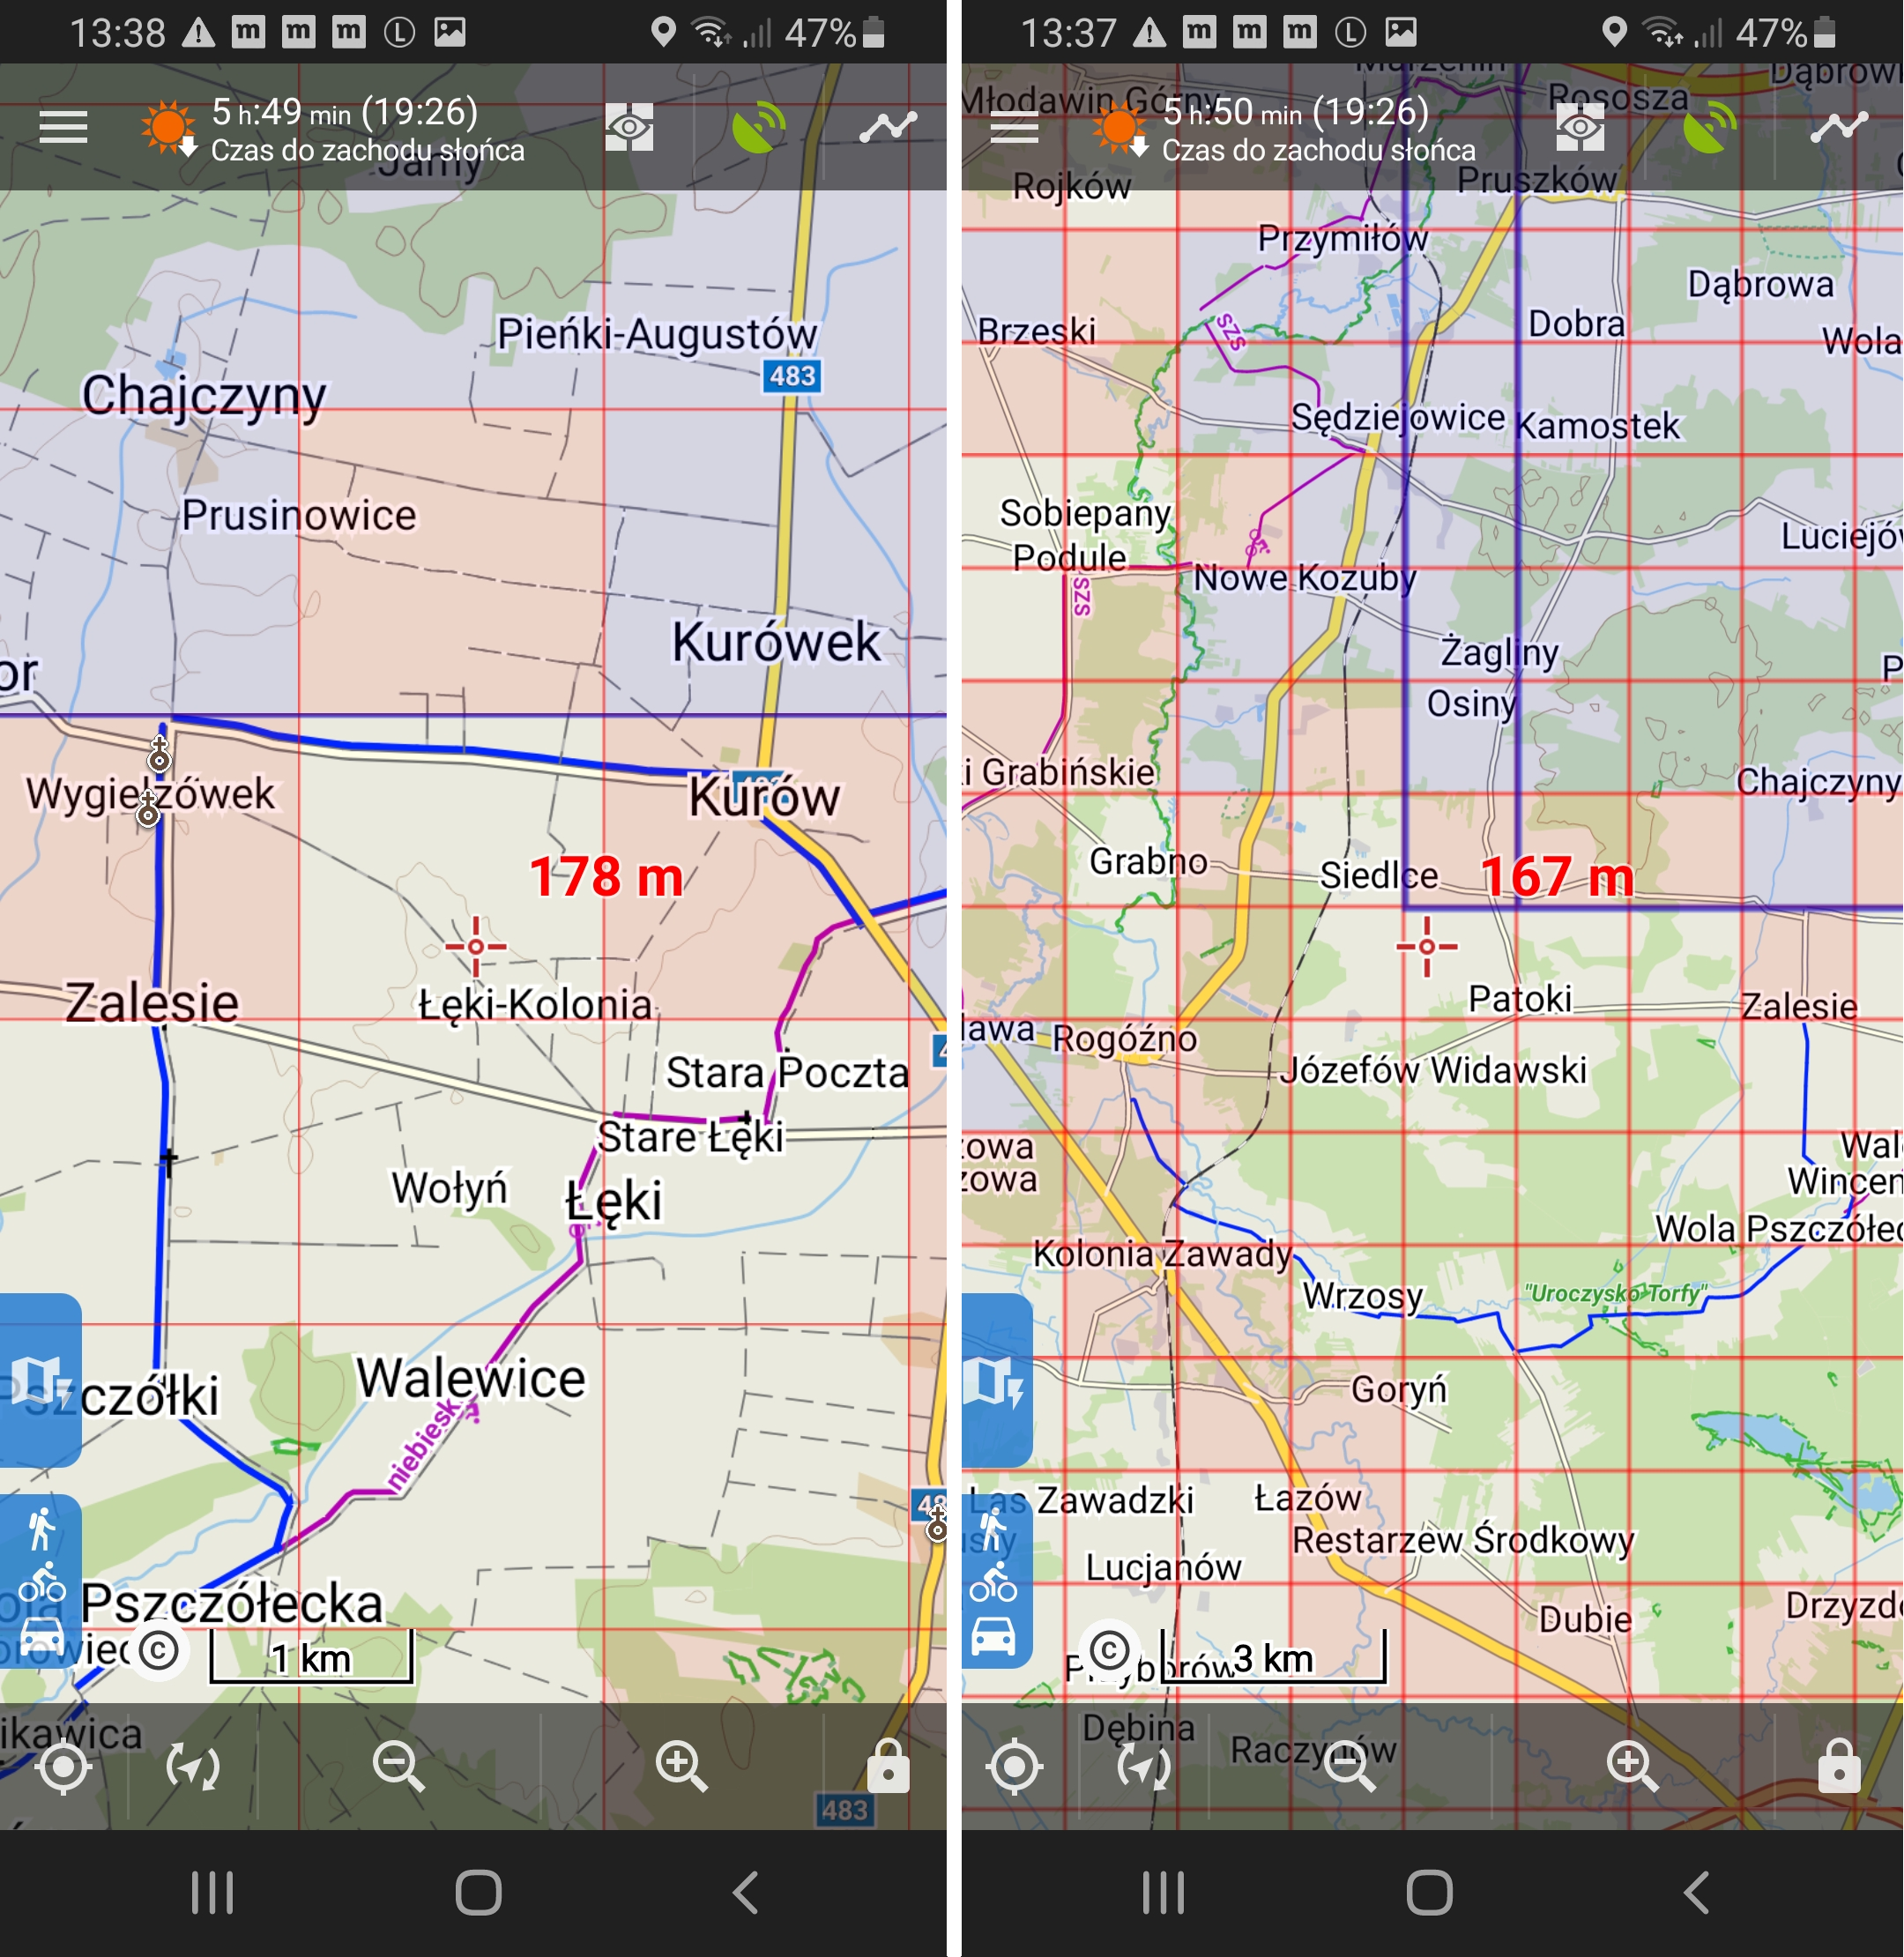
Setup Locus Map
LocusMap Application: https://www.locusmap.app
Step 1. Install Locus Map
Install Locus Map on your smartphone, note - the overlay was tested with LocusMap App version 3 (pro).Step 2. Get providers.xml
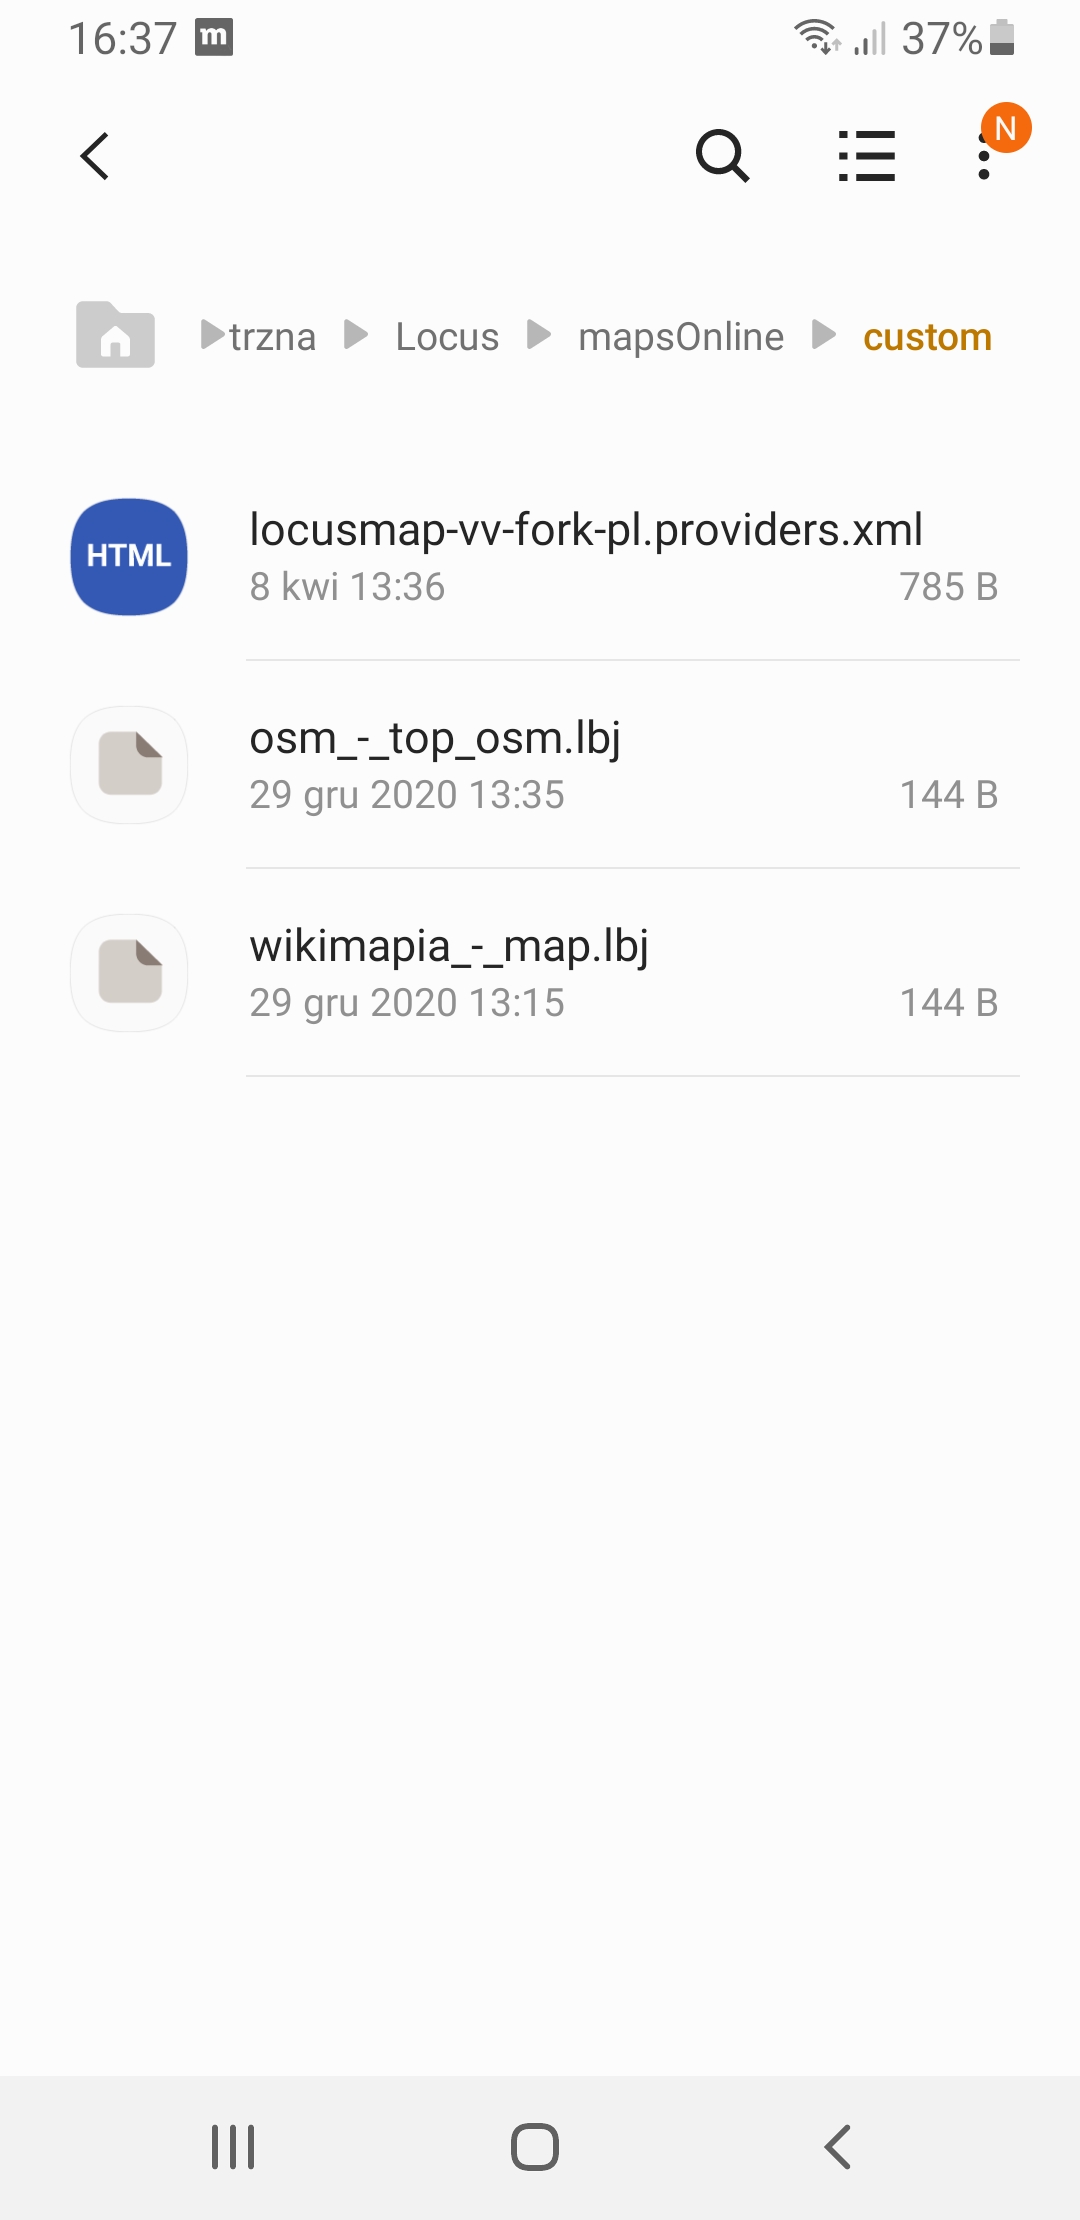
Step 3. Upload providers.xml to smartphone
It should be stored in Internal Storage / Locus / mapsOnline / custom directory.
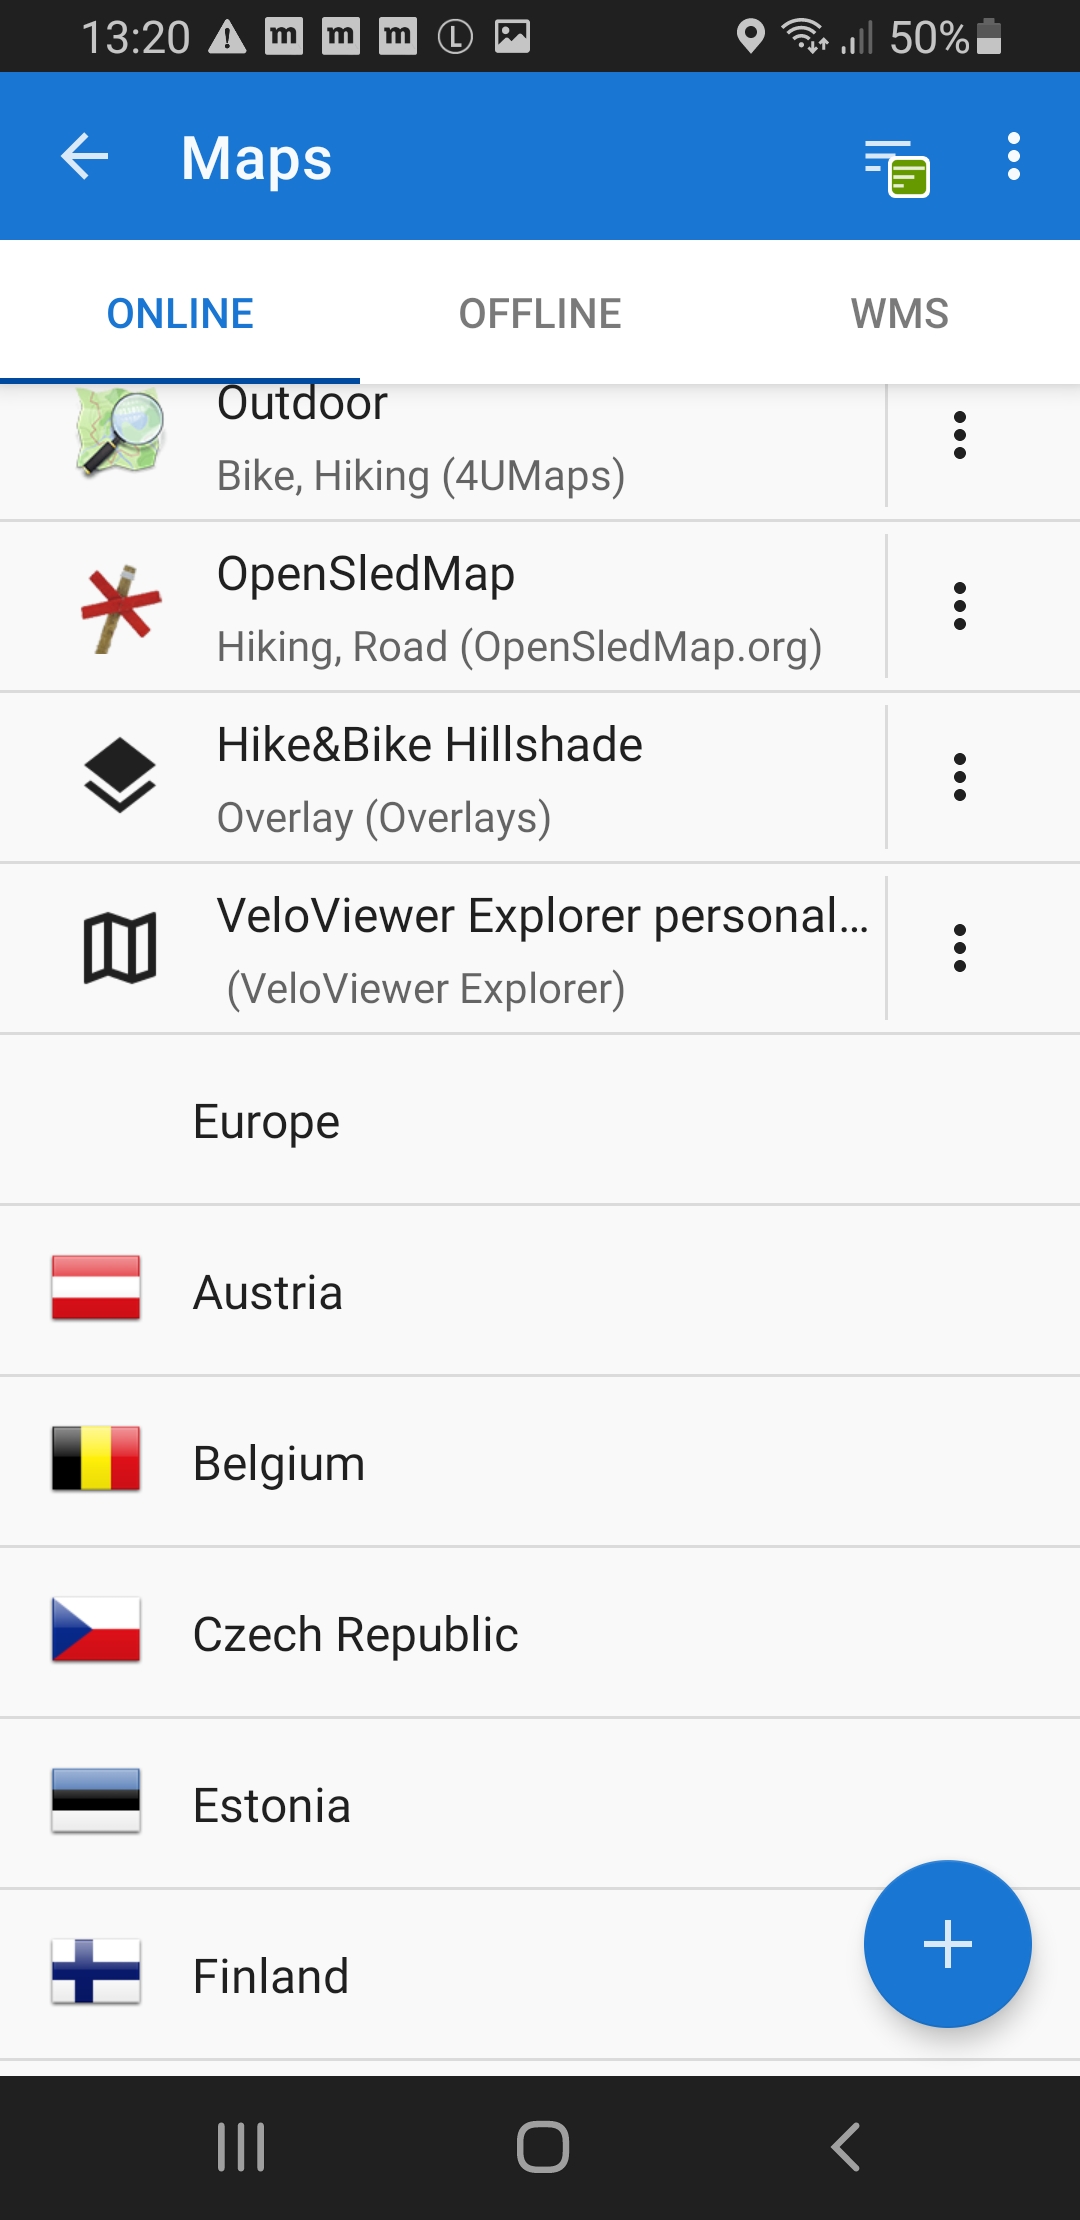
Step 4. Verify it's recognized
In Map Manager it should be visible under the name of VeloViewer Explorer Personal Overlay in the World category
Step 5. Map Overlays
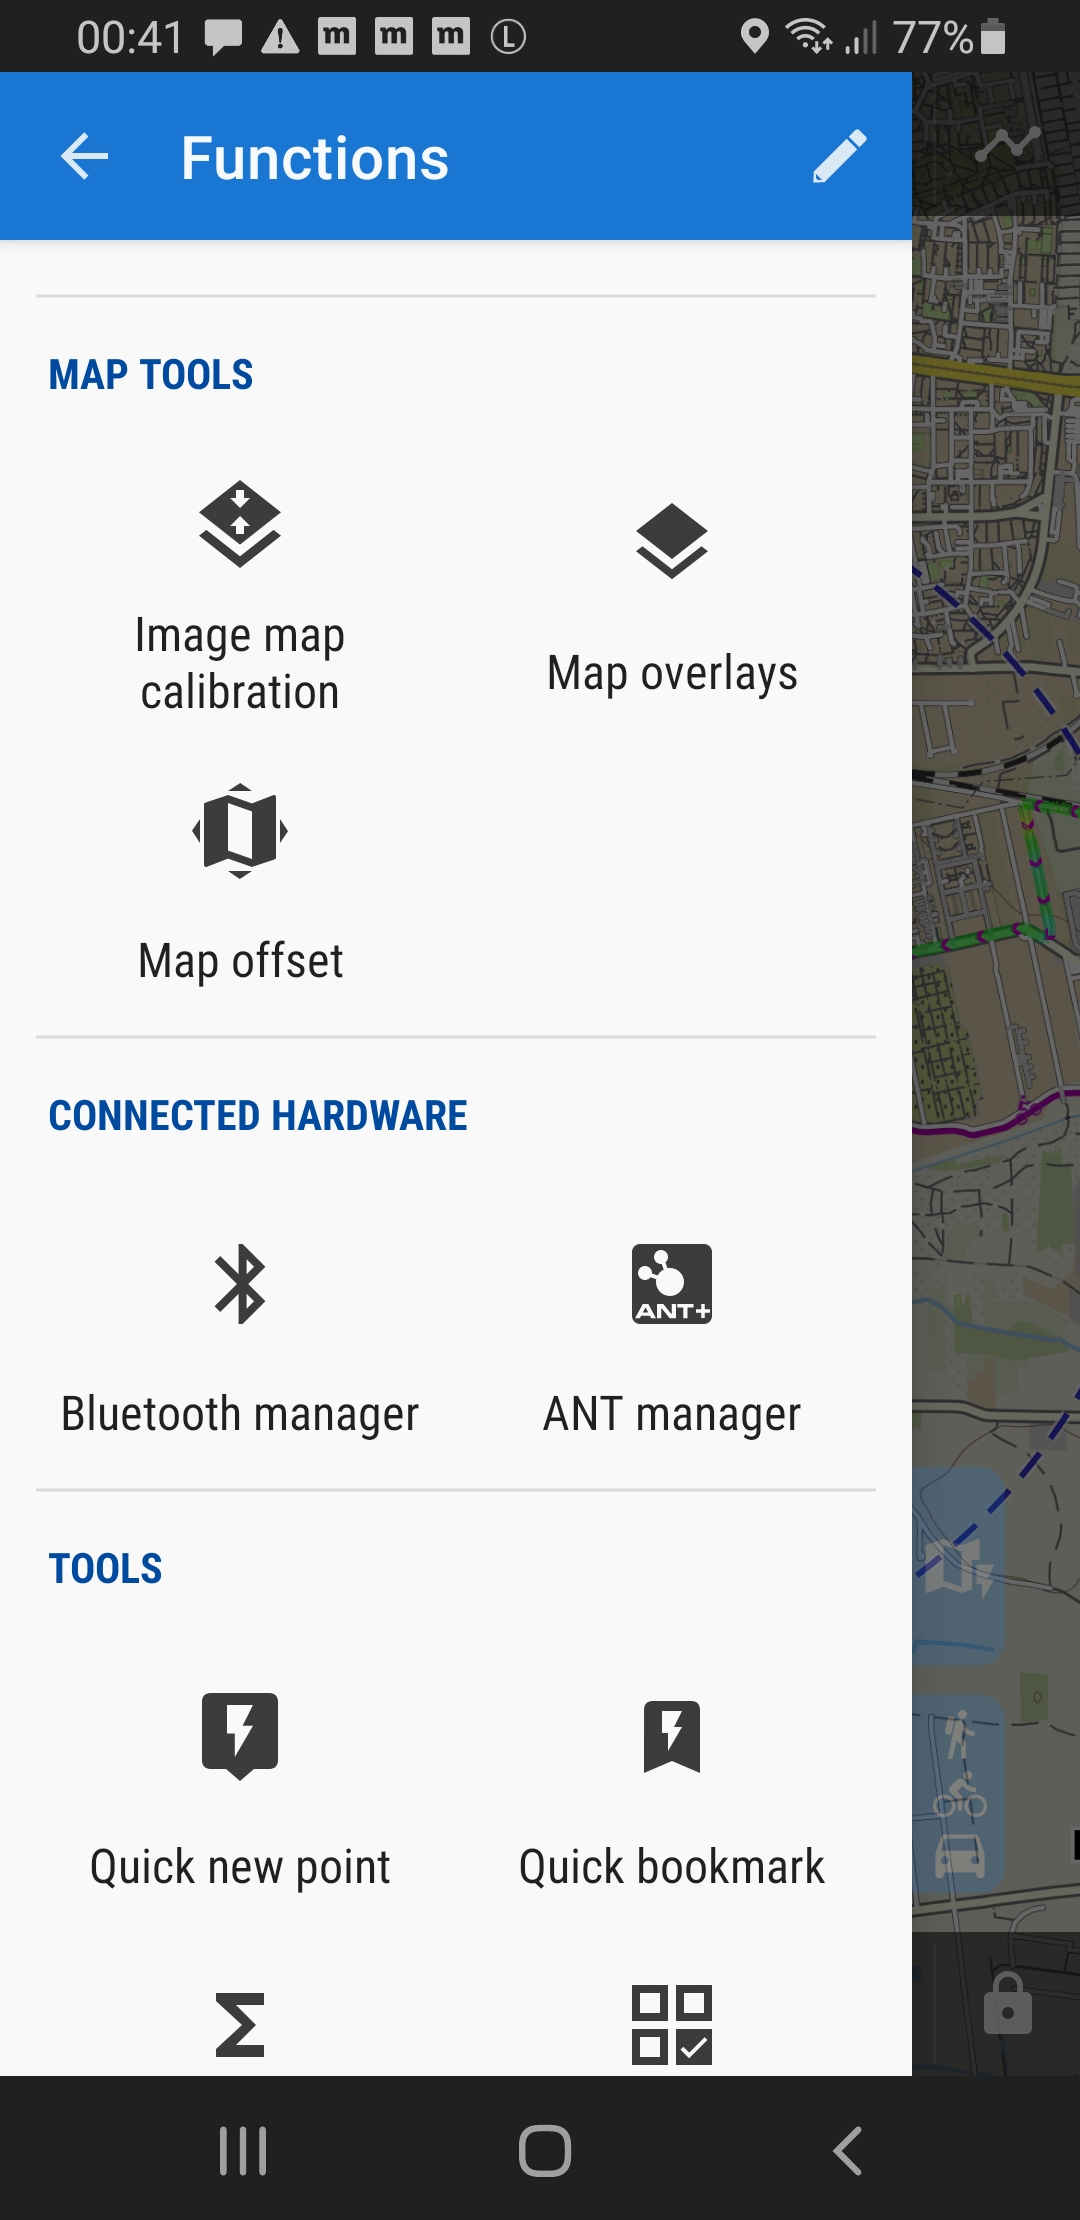
Go to More Functions / Map Overlays
Step 6. Set Overlay
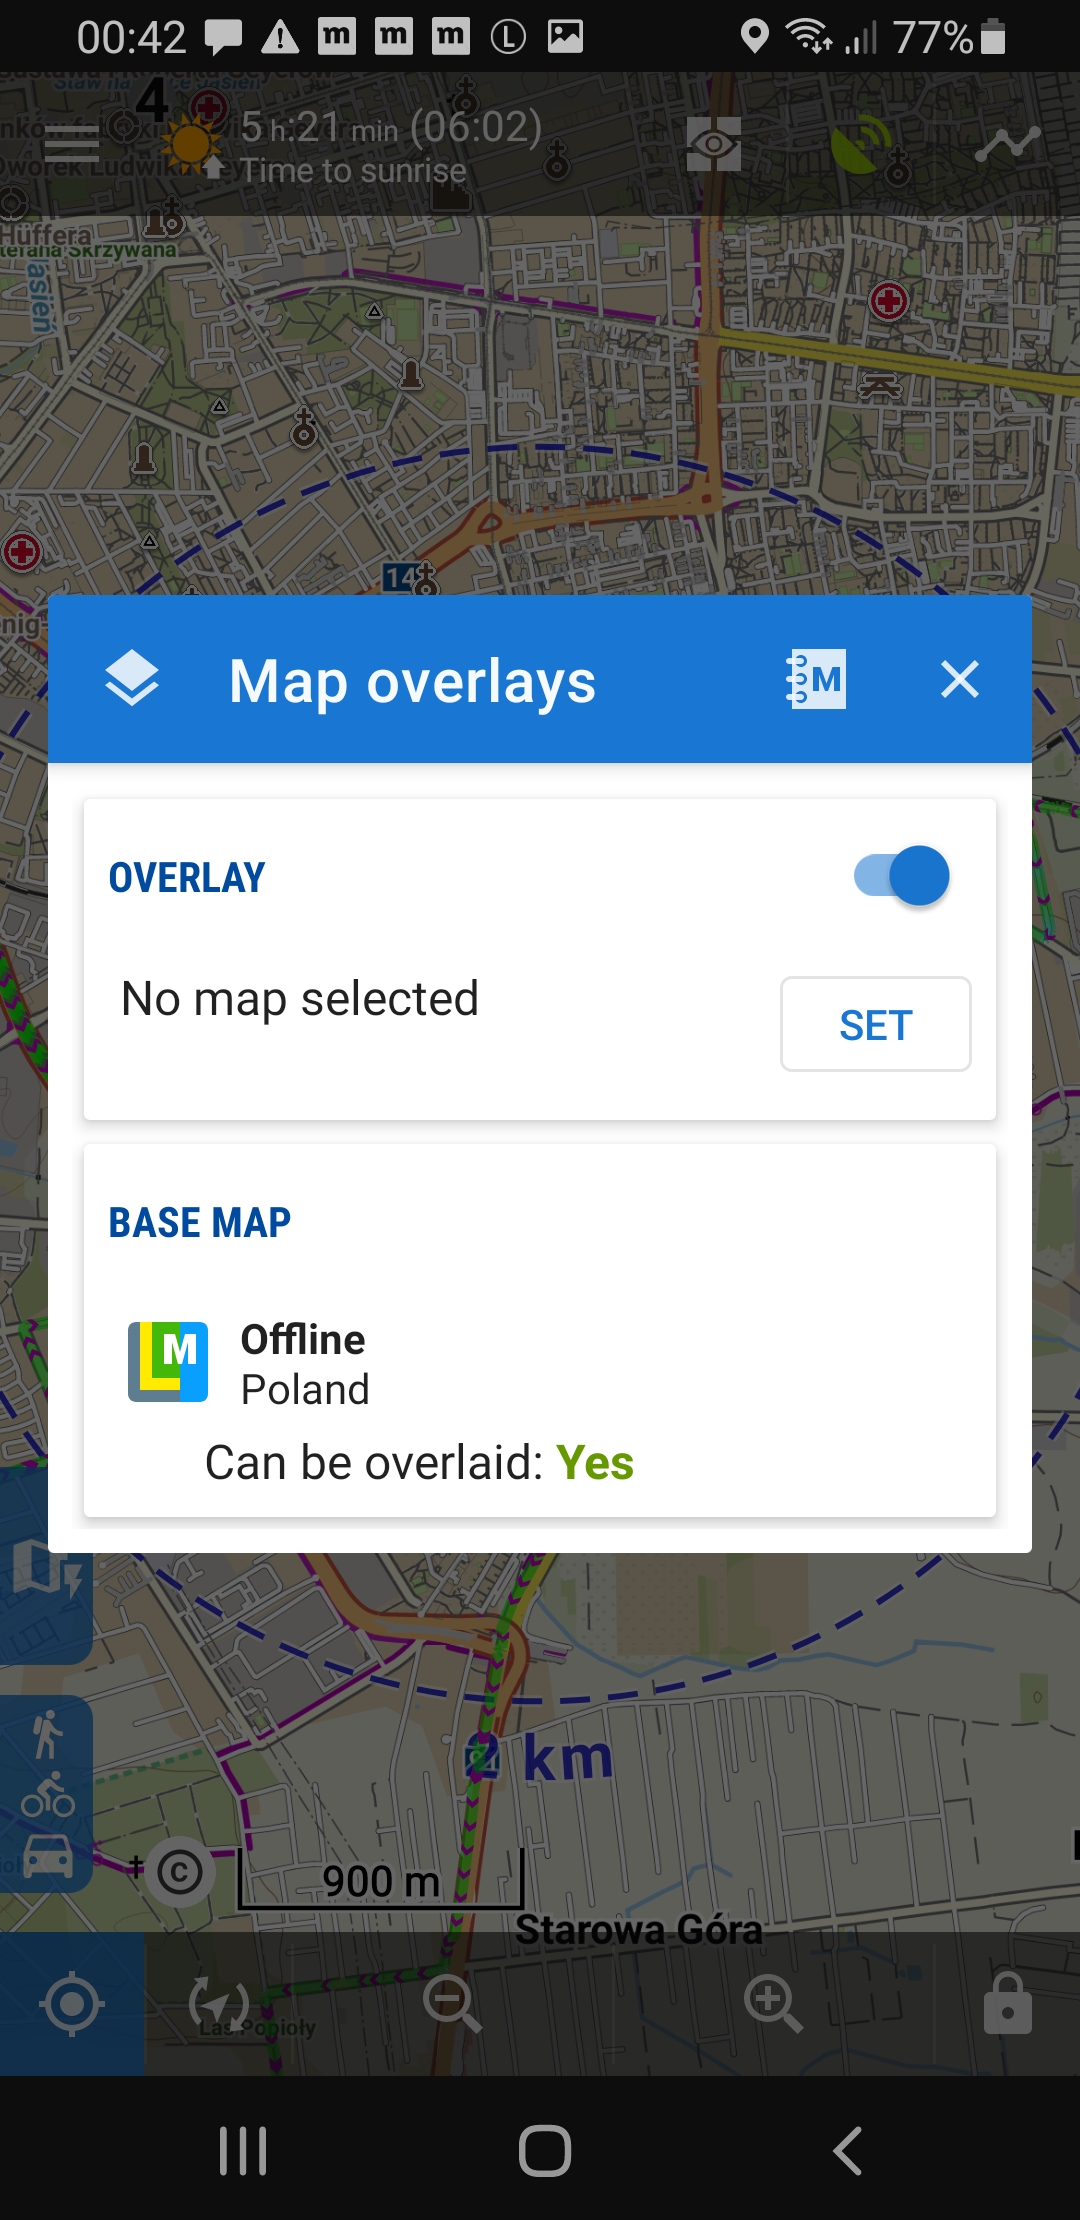
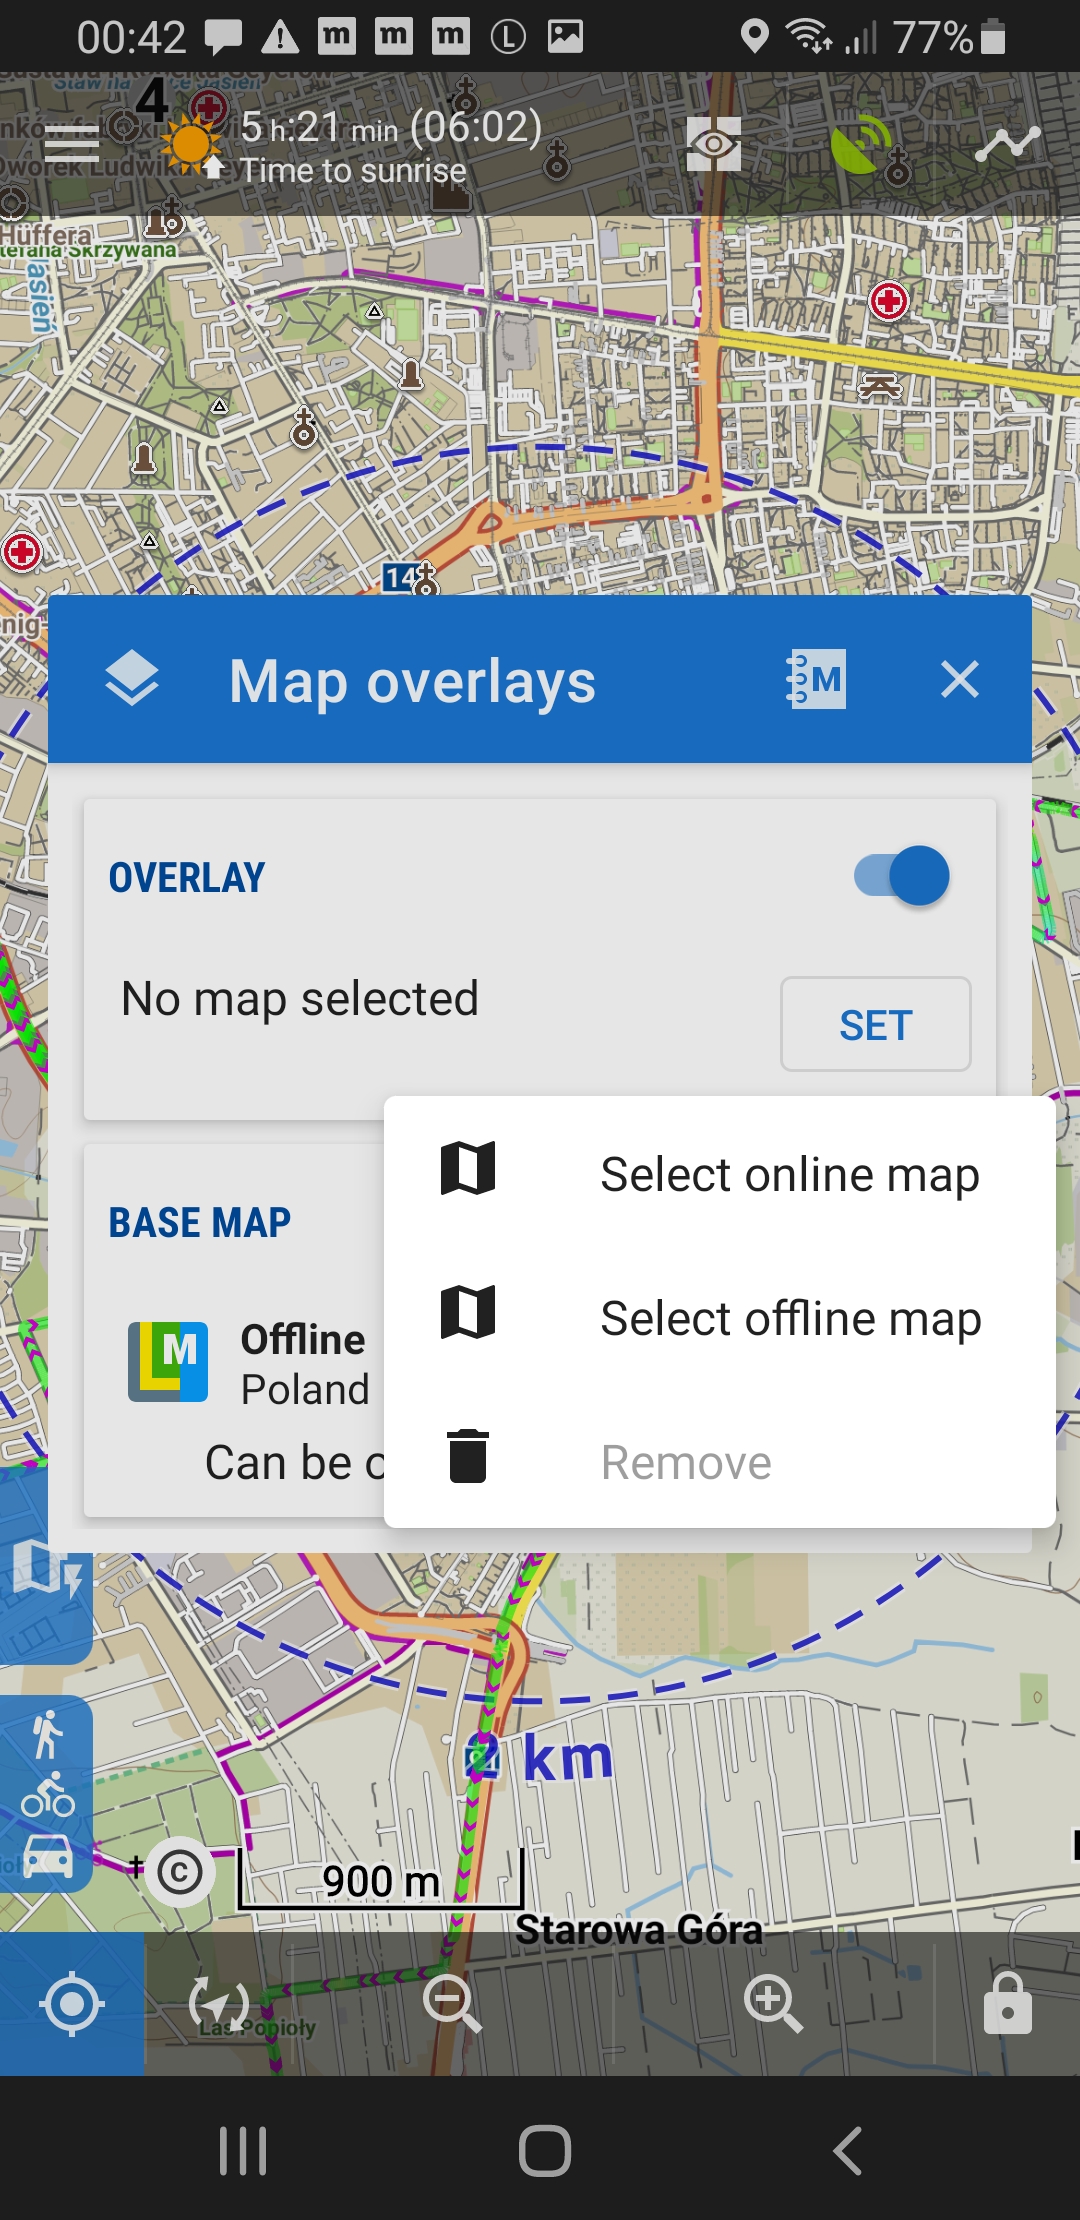
Enable Overlay, choose Set, Select Online Map and then select VeloViewer Explorer Overlay
Step 7. Have fun
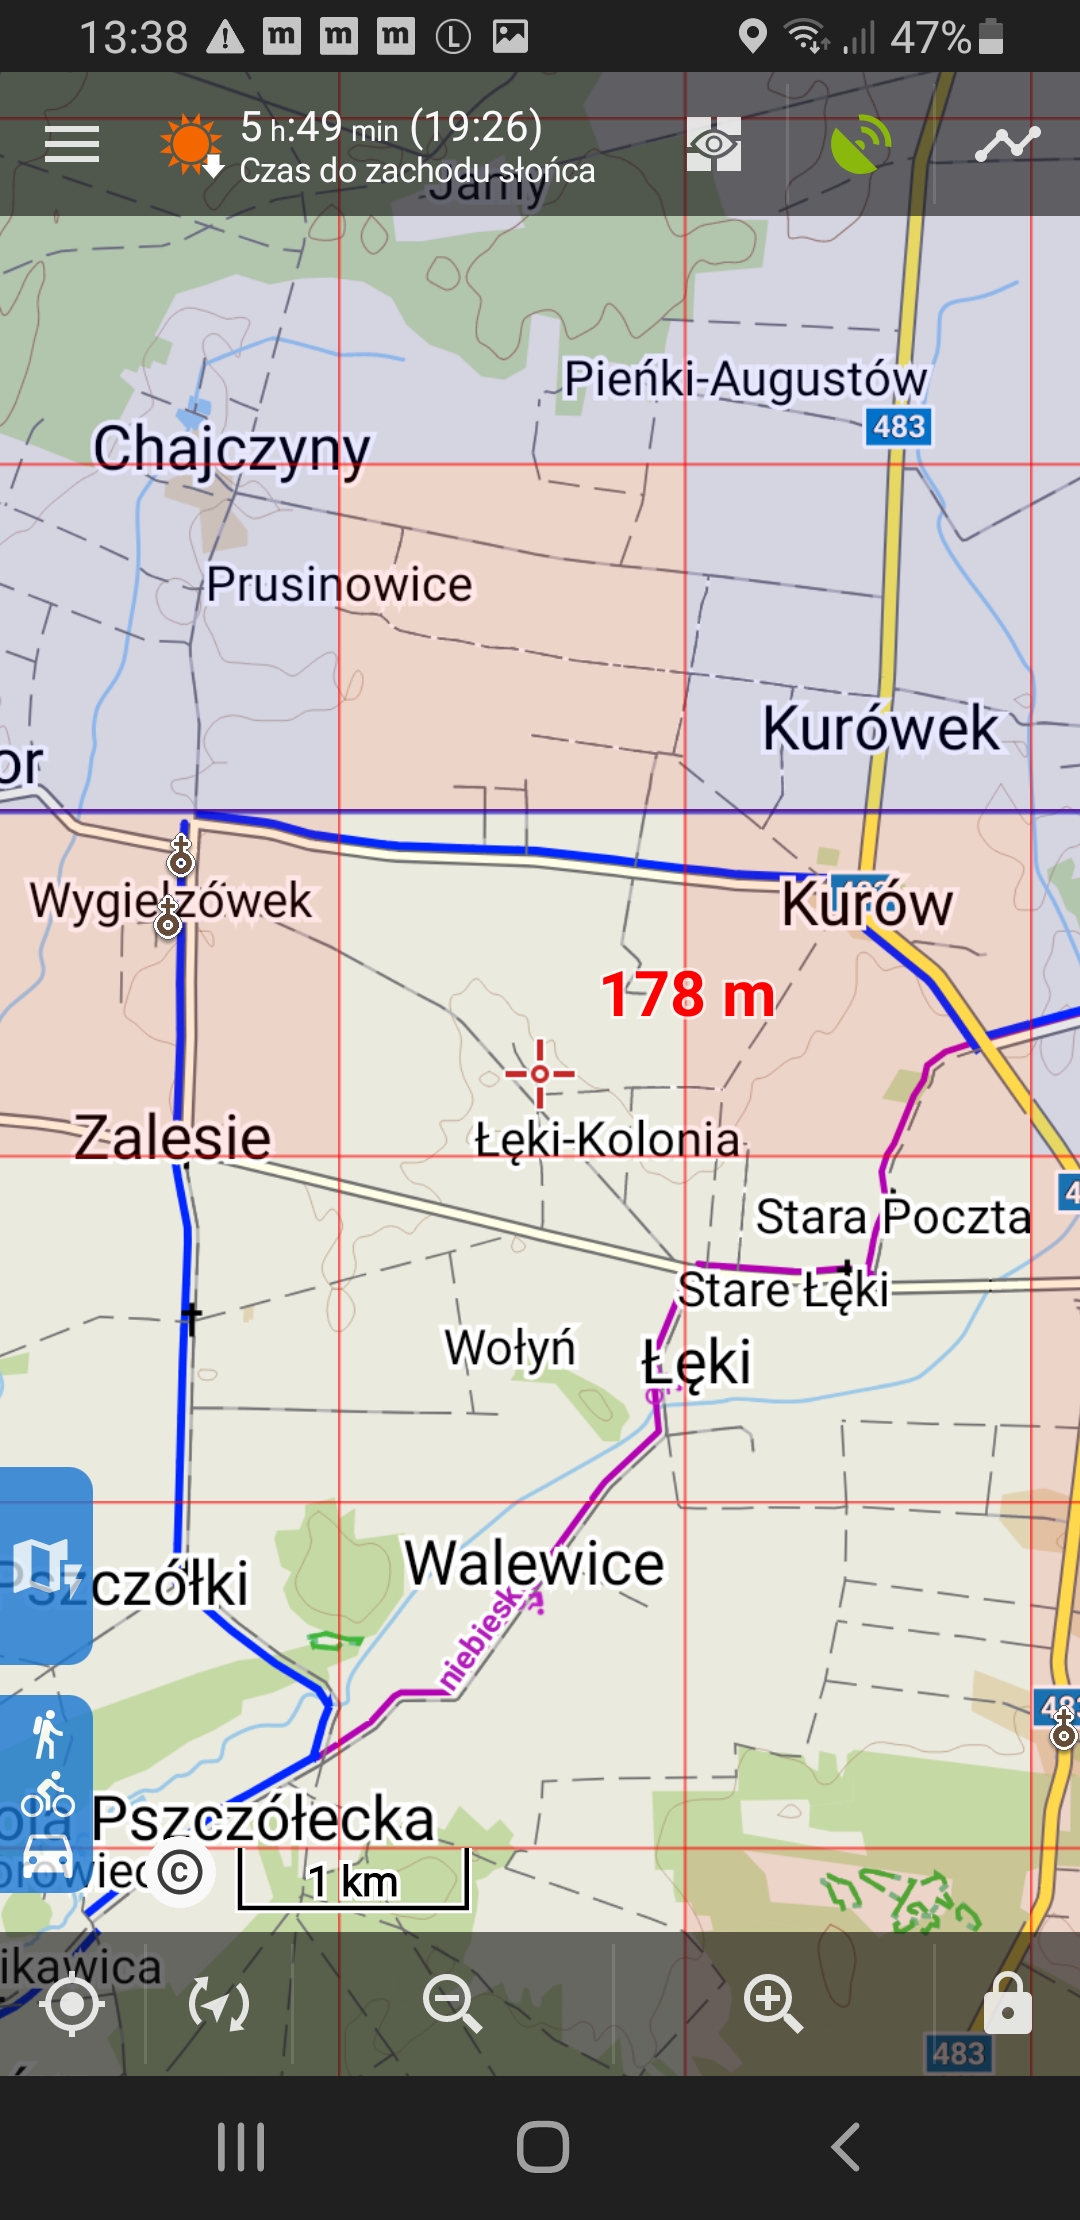
The overlay should be immediately visible
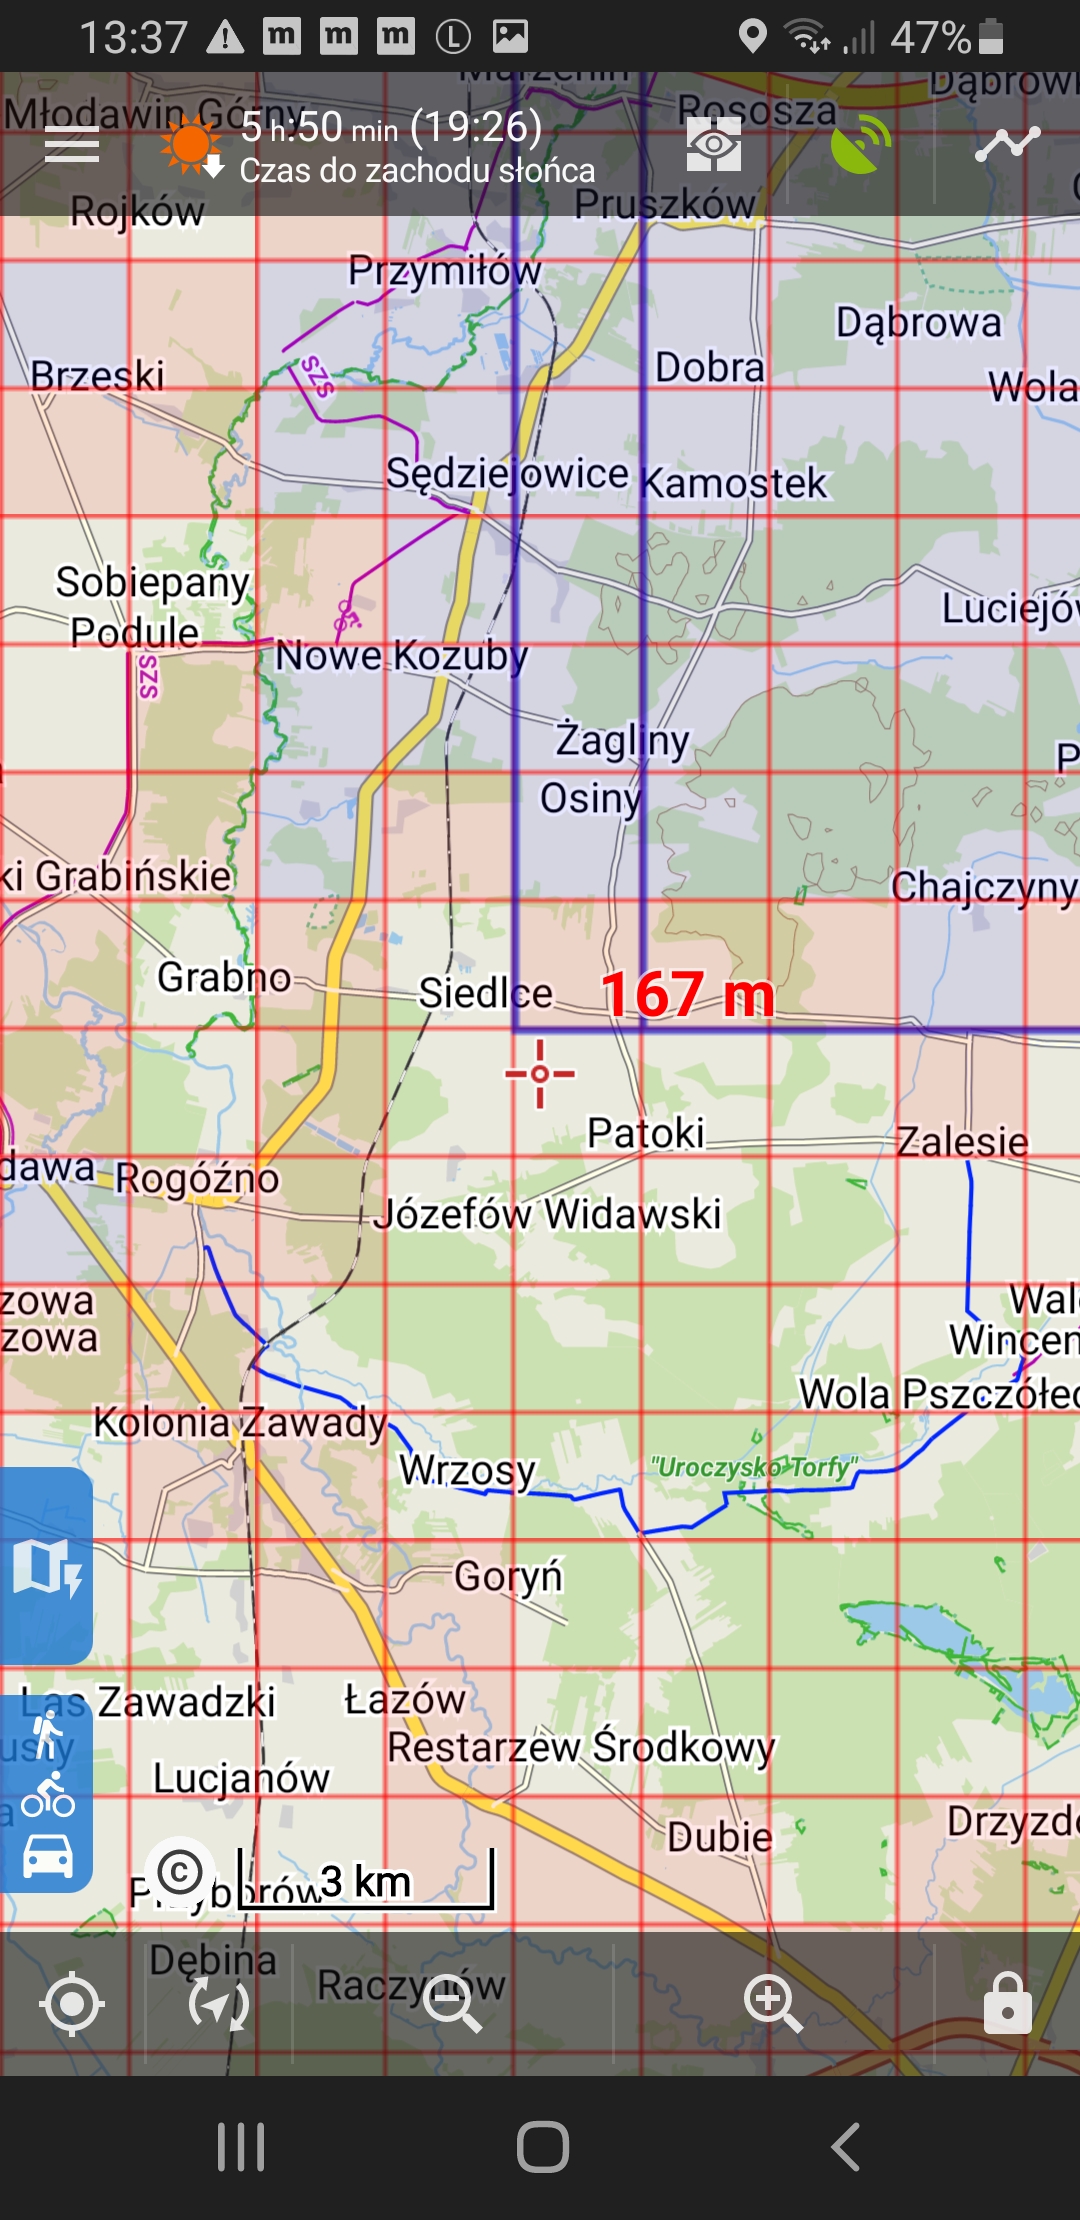
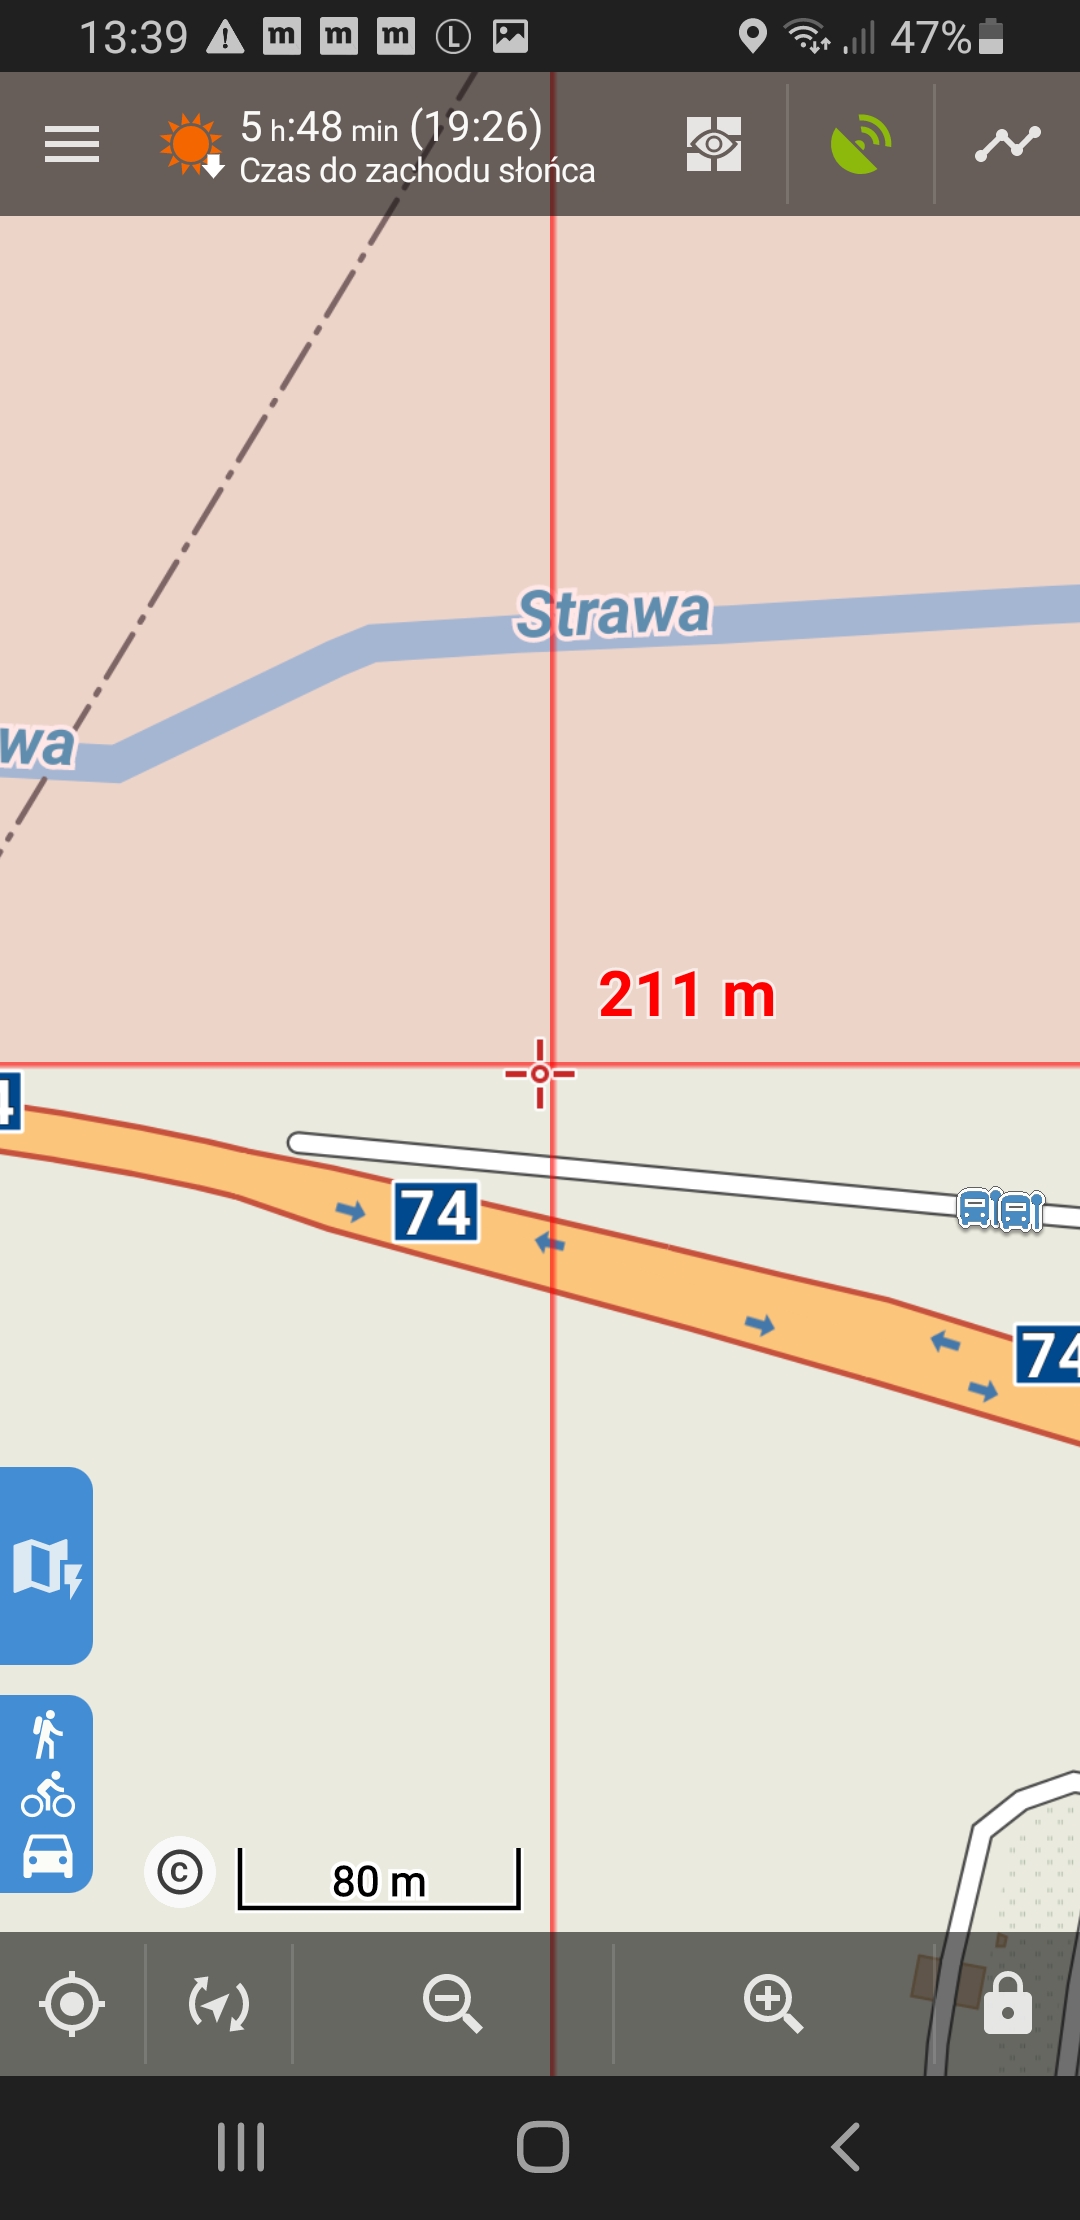
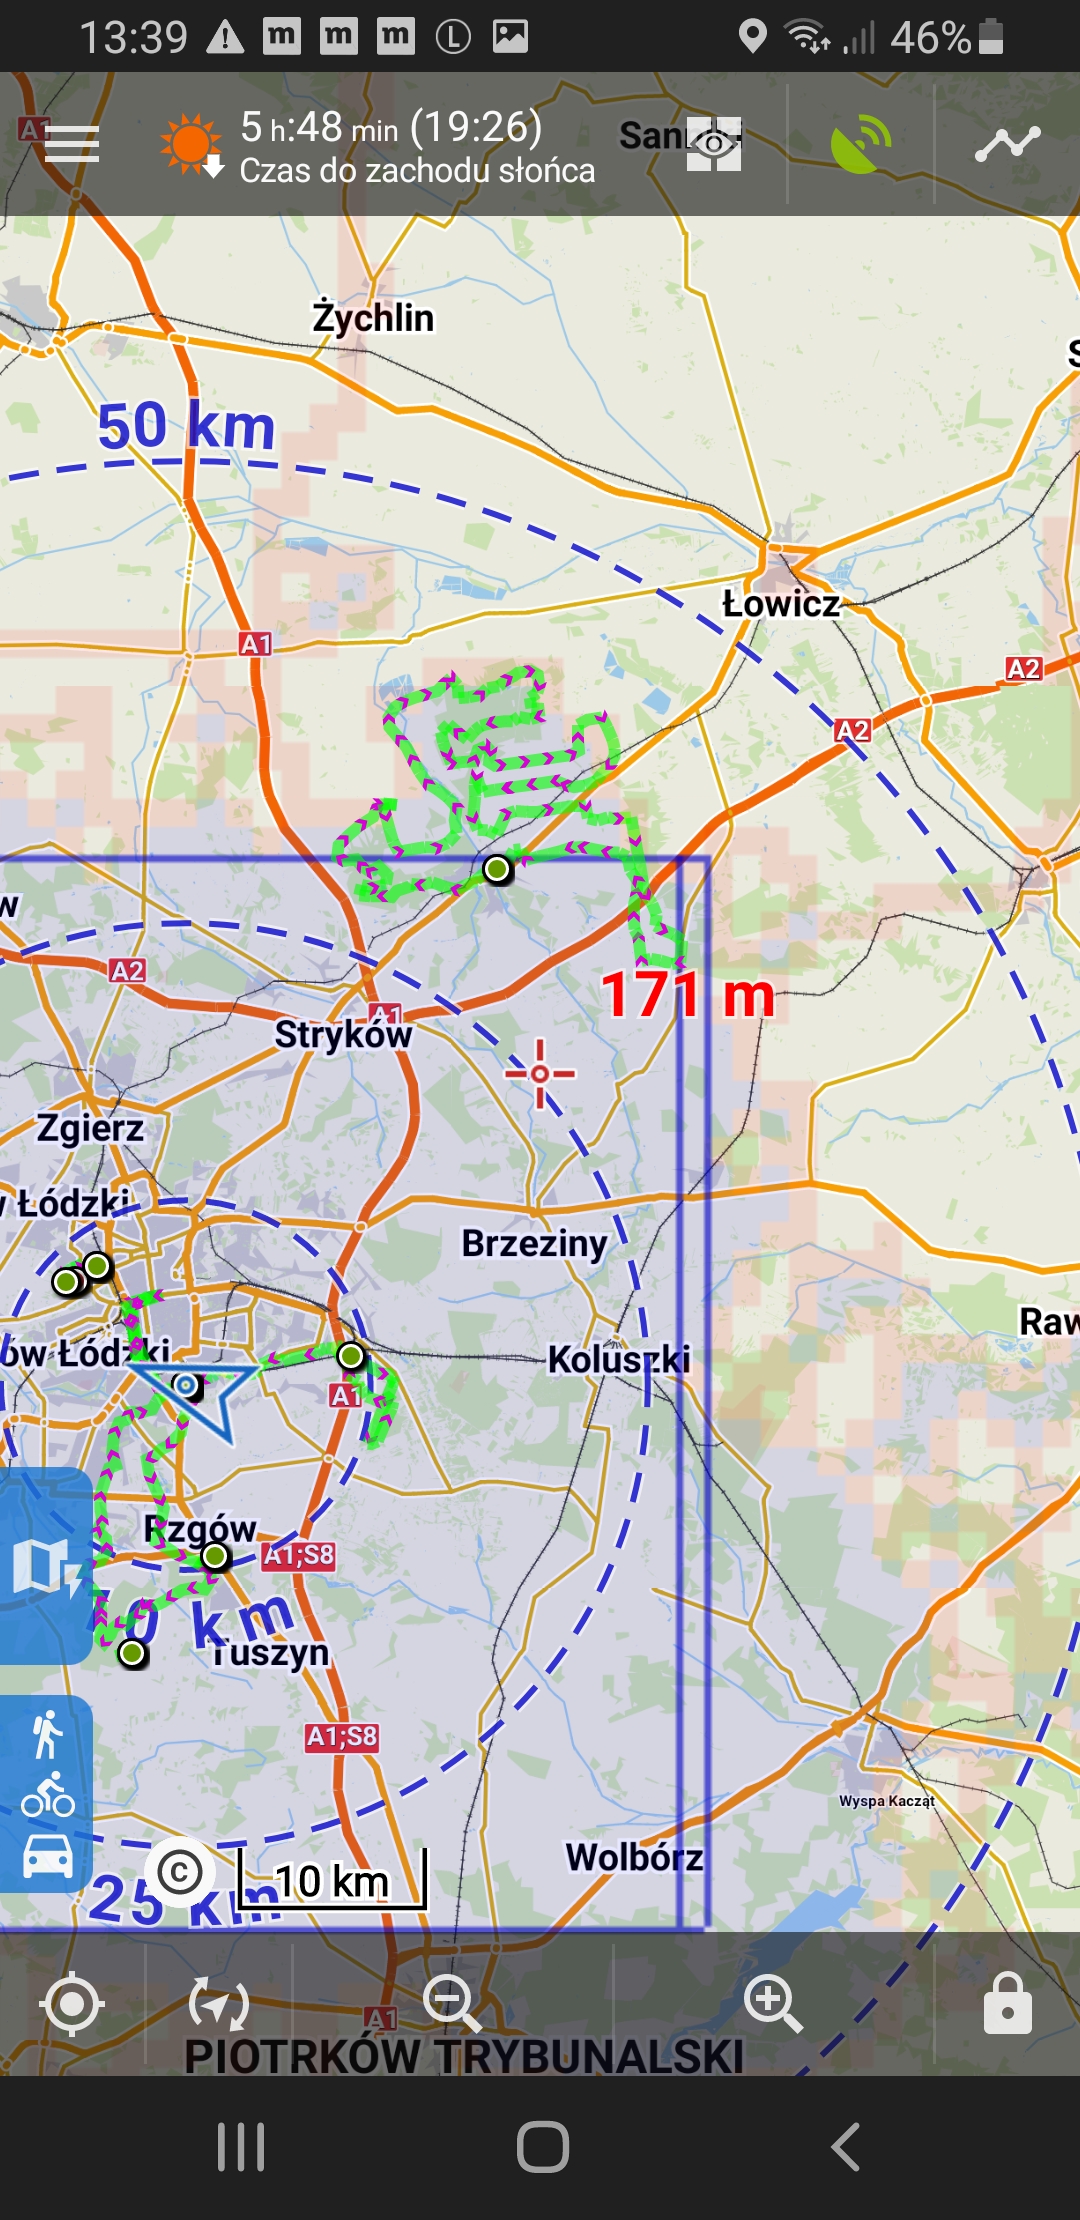
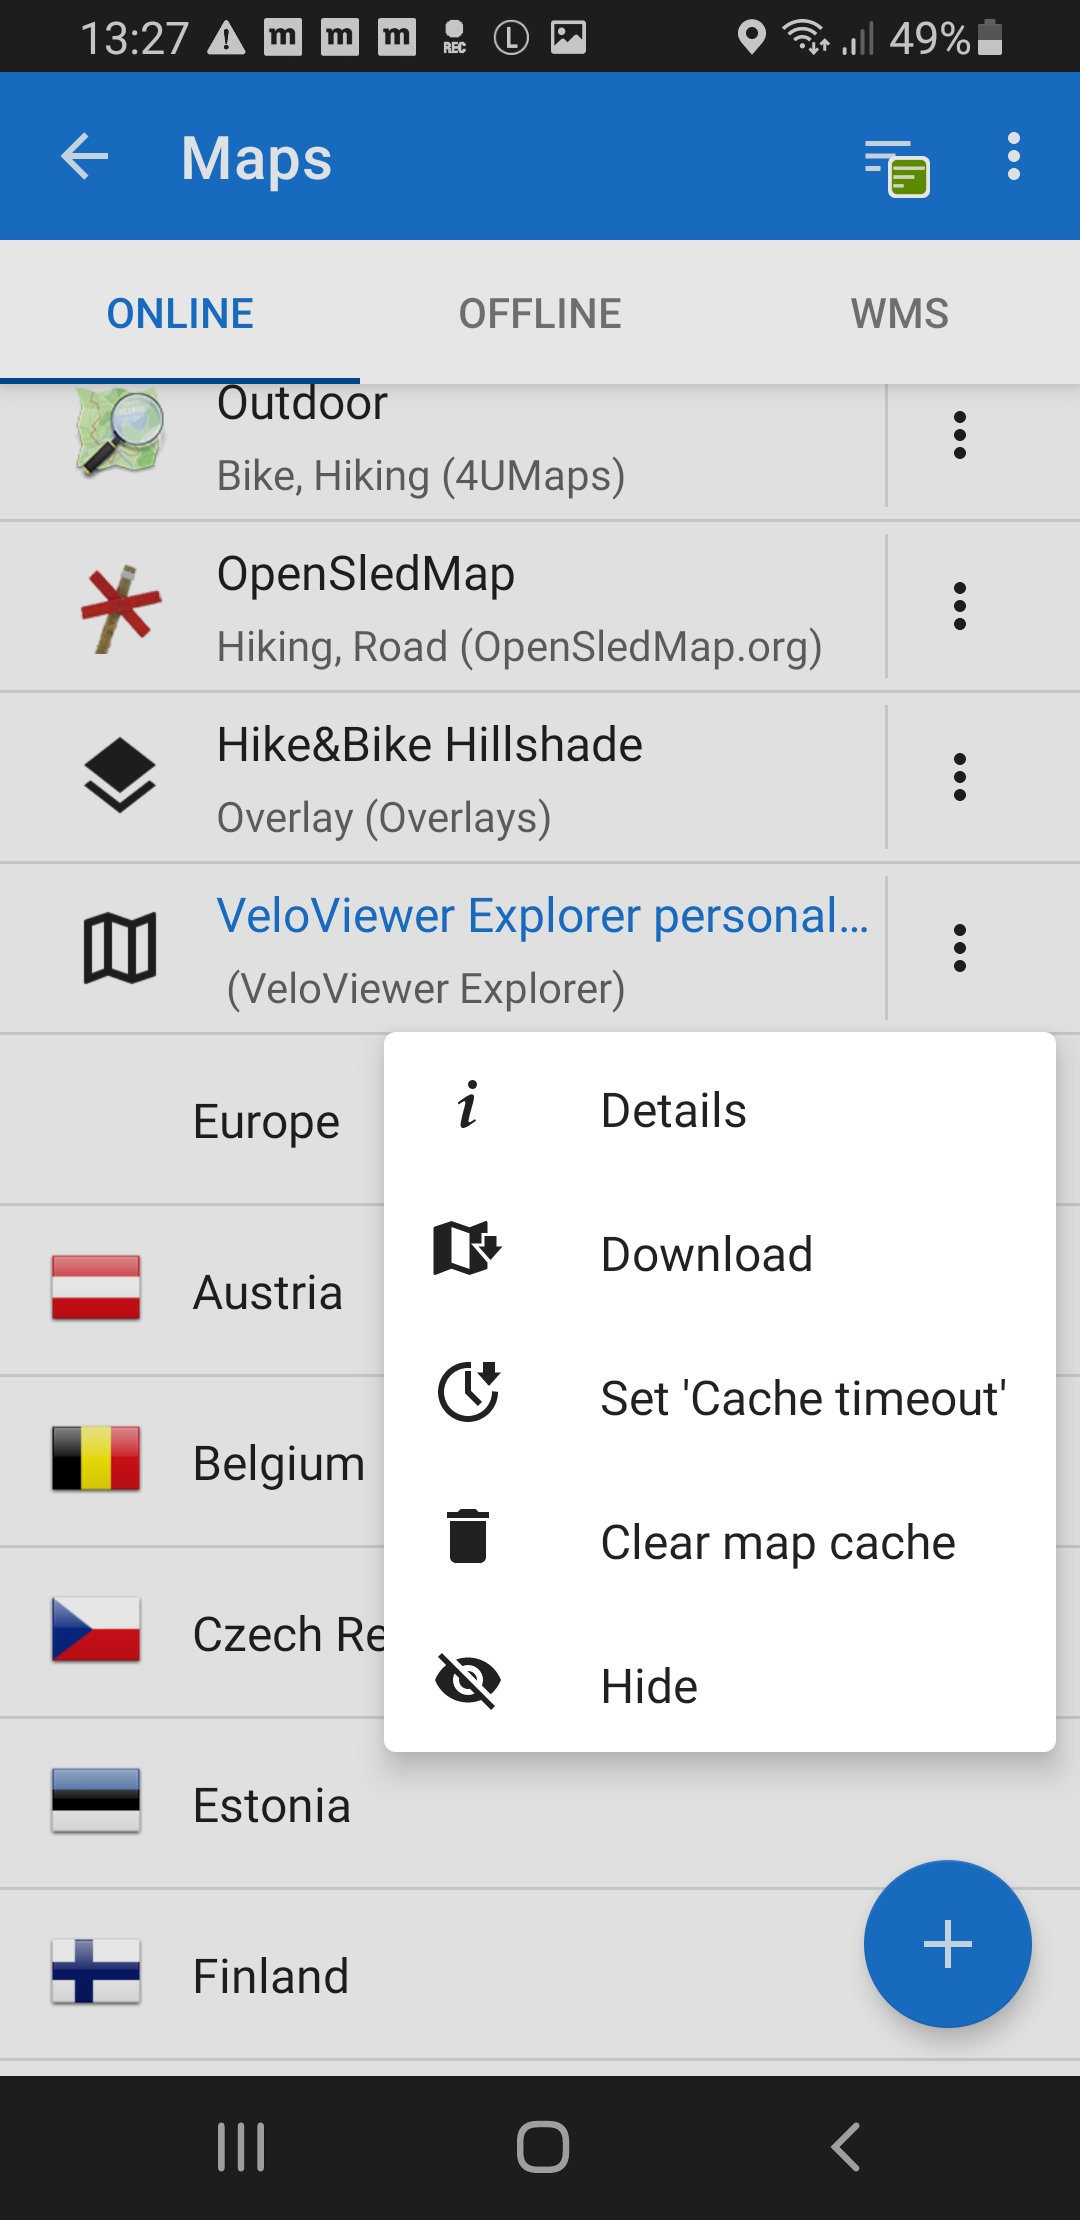
Step 8. Cache
You can clear Locus Map cache of Explorer Overlay in case you uploaded new tracks to Strava, updated VeloViewer and refreshed data here (the Refresh Explorer stats button)
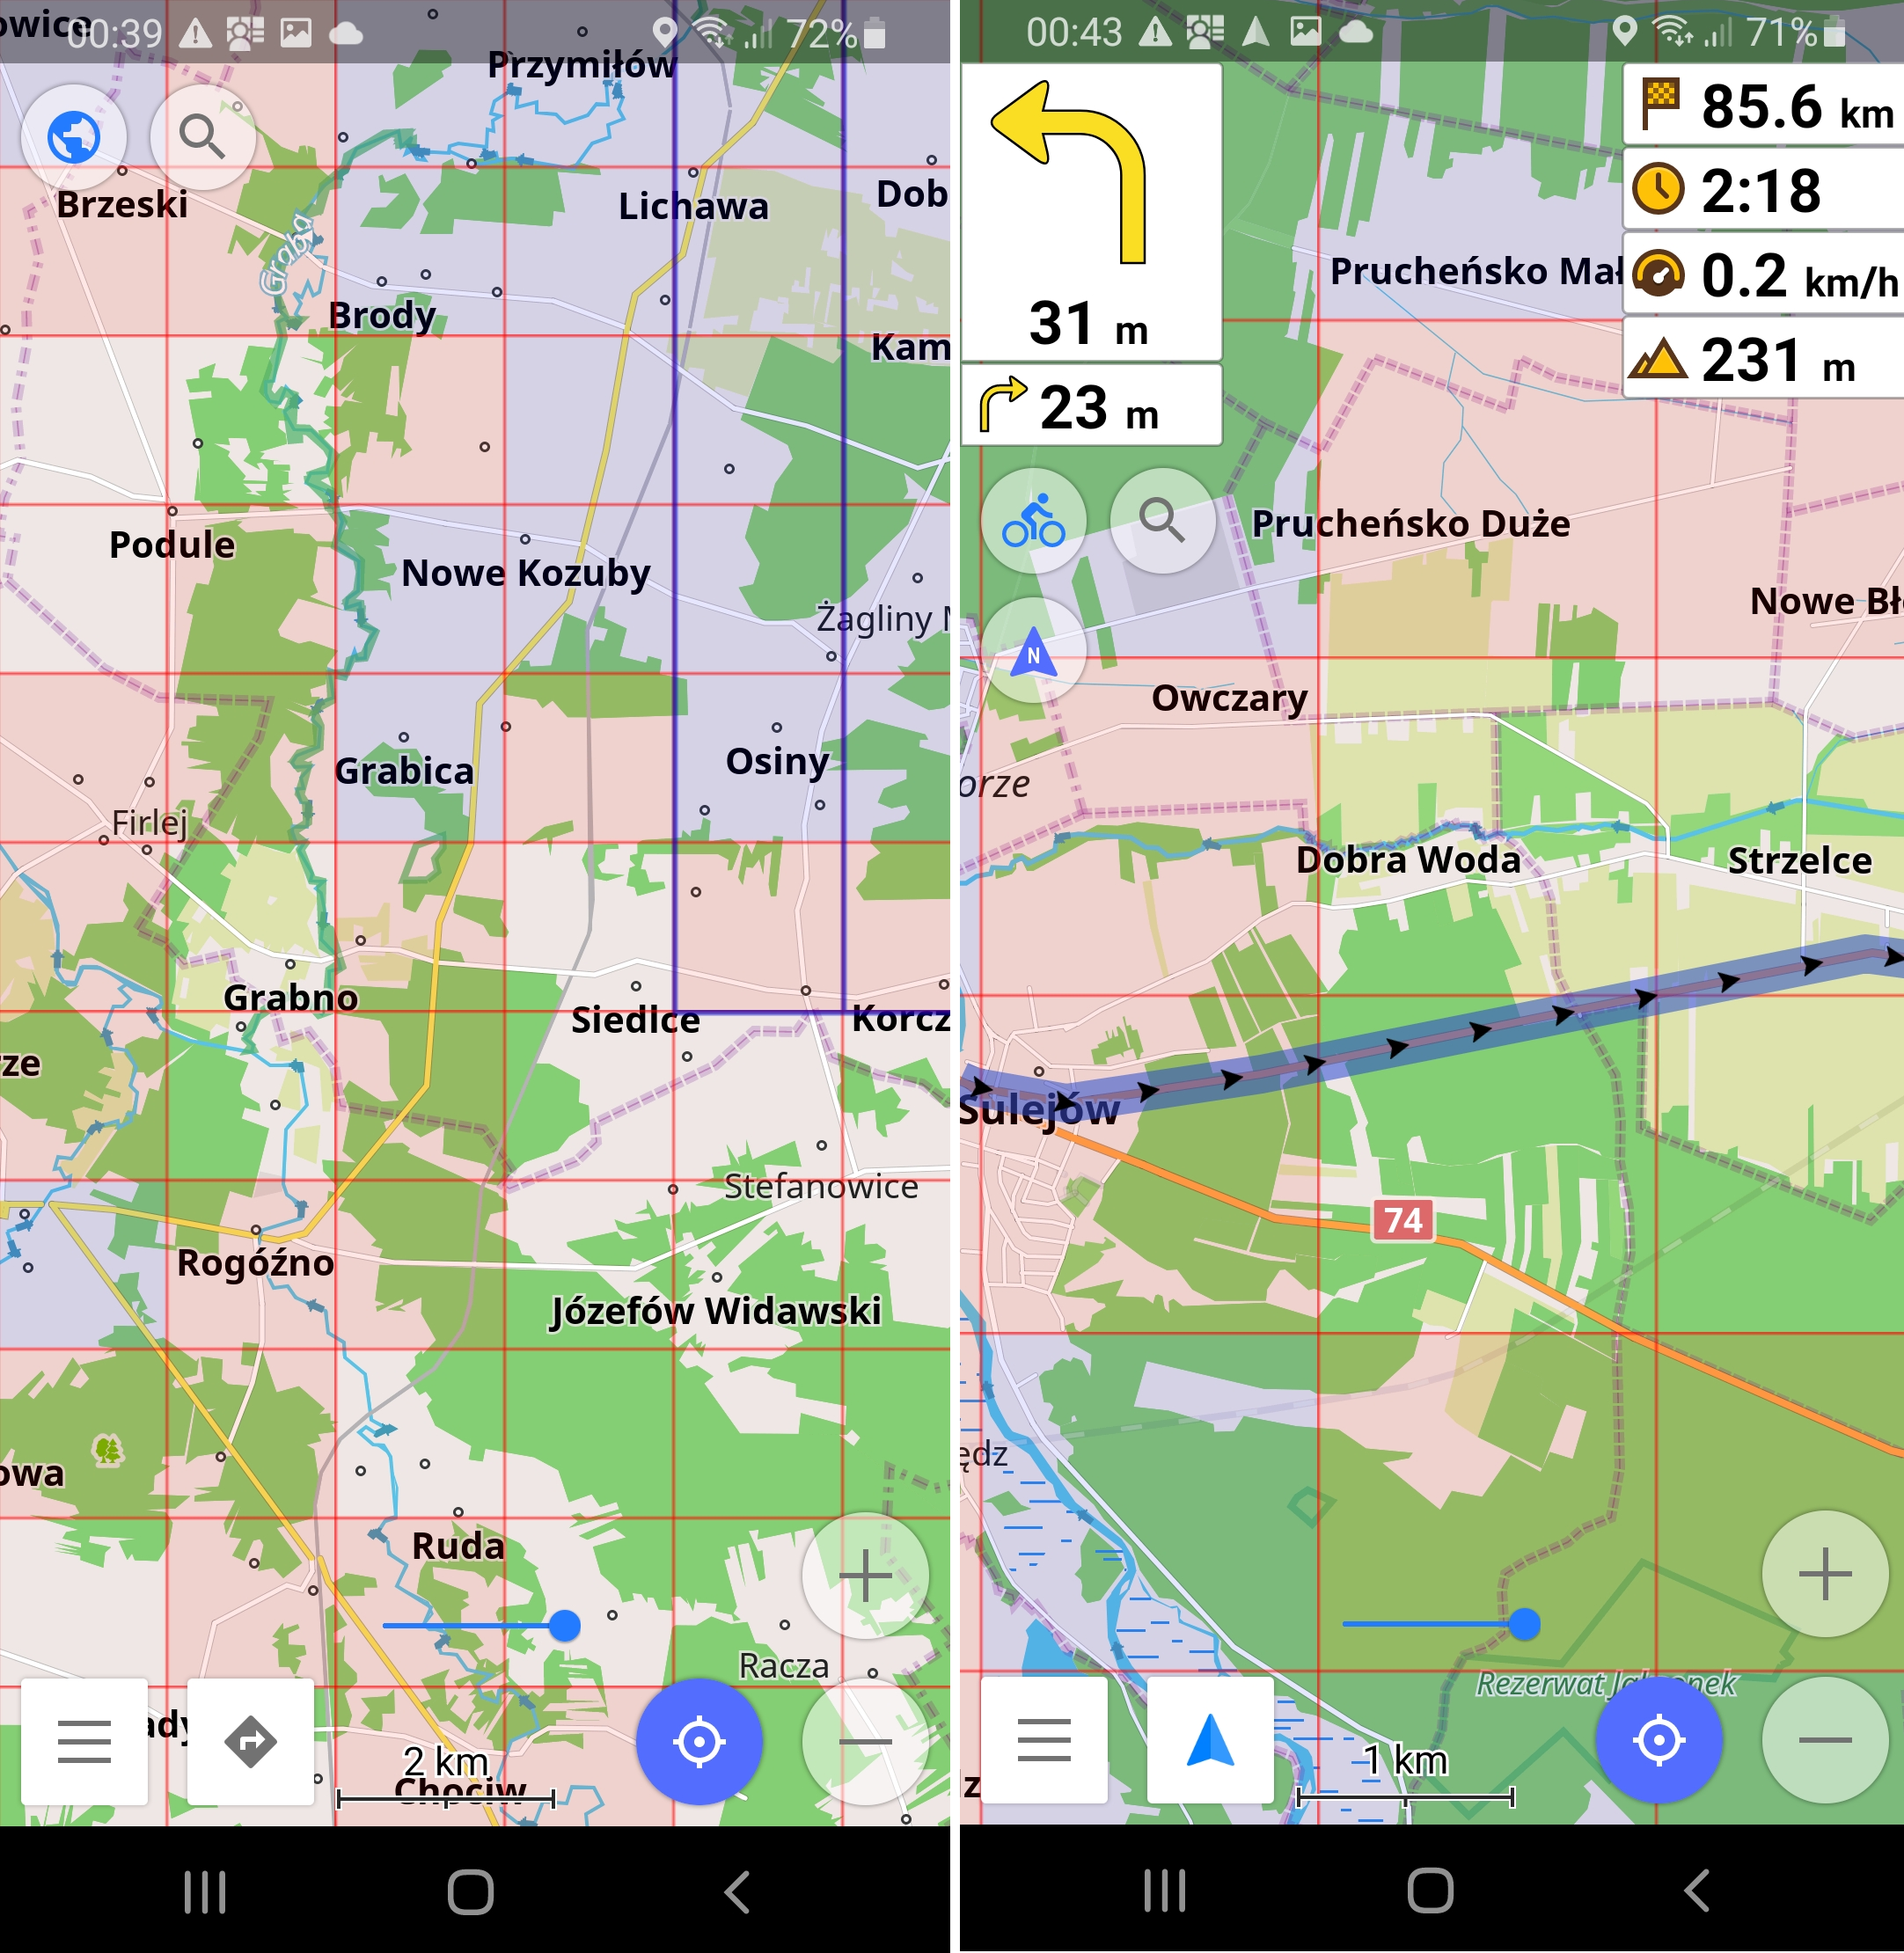
Setup OsmAnd
OsmAnd Application: https://osmand.net
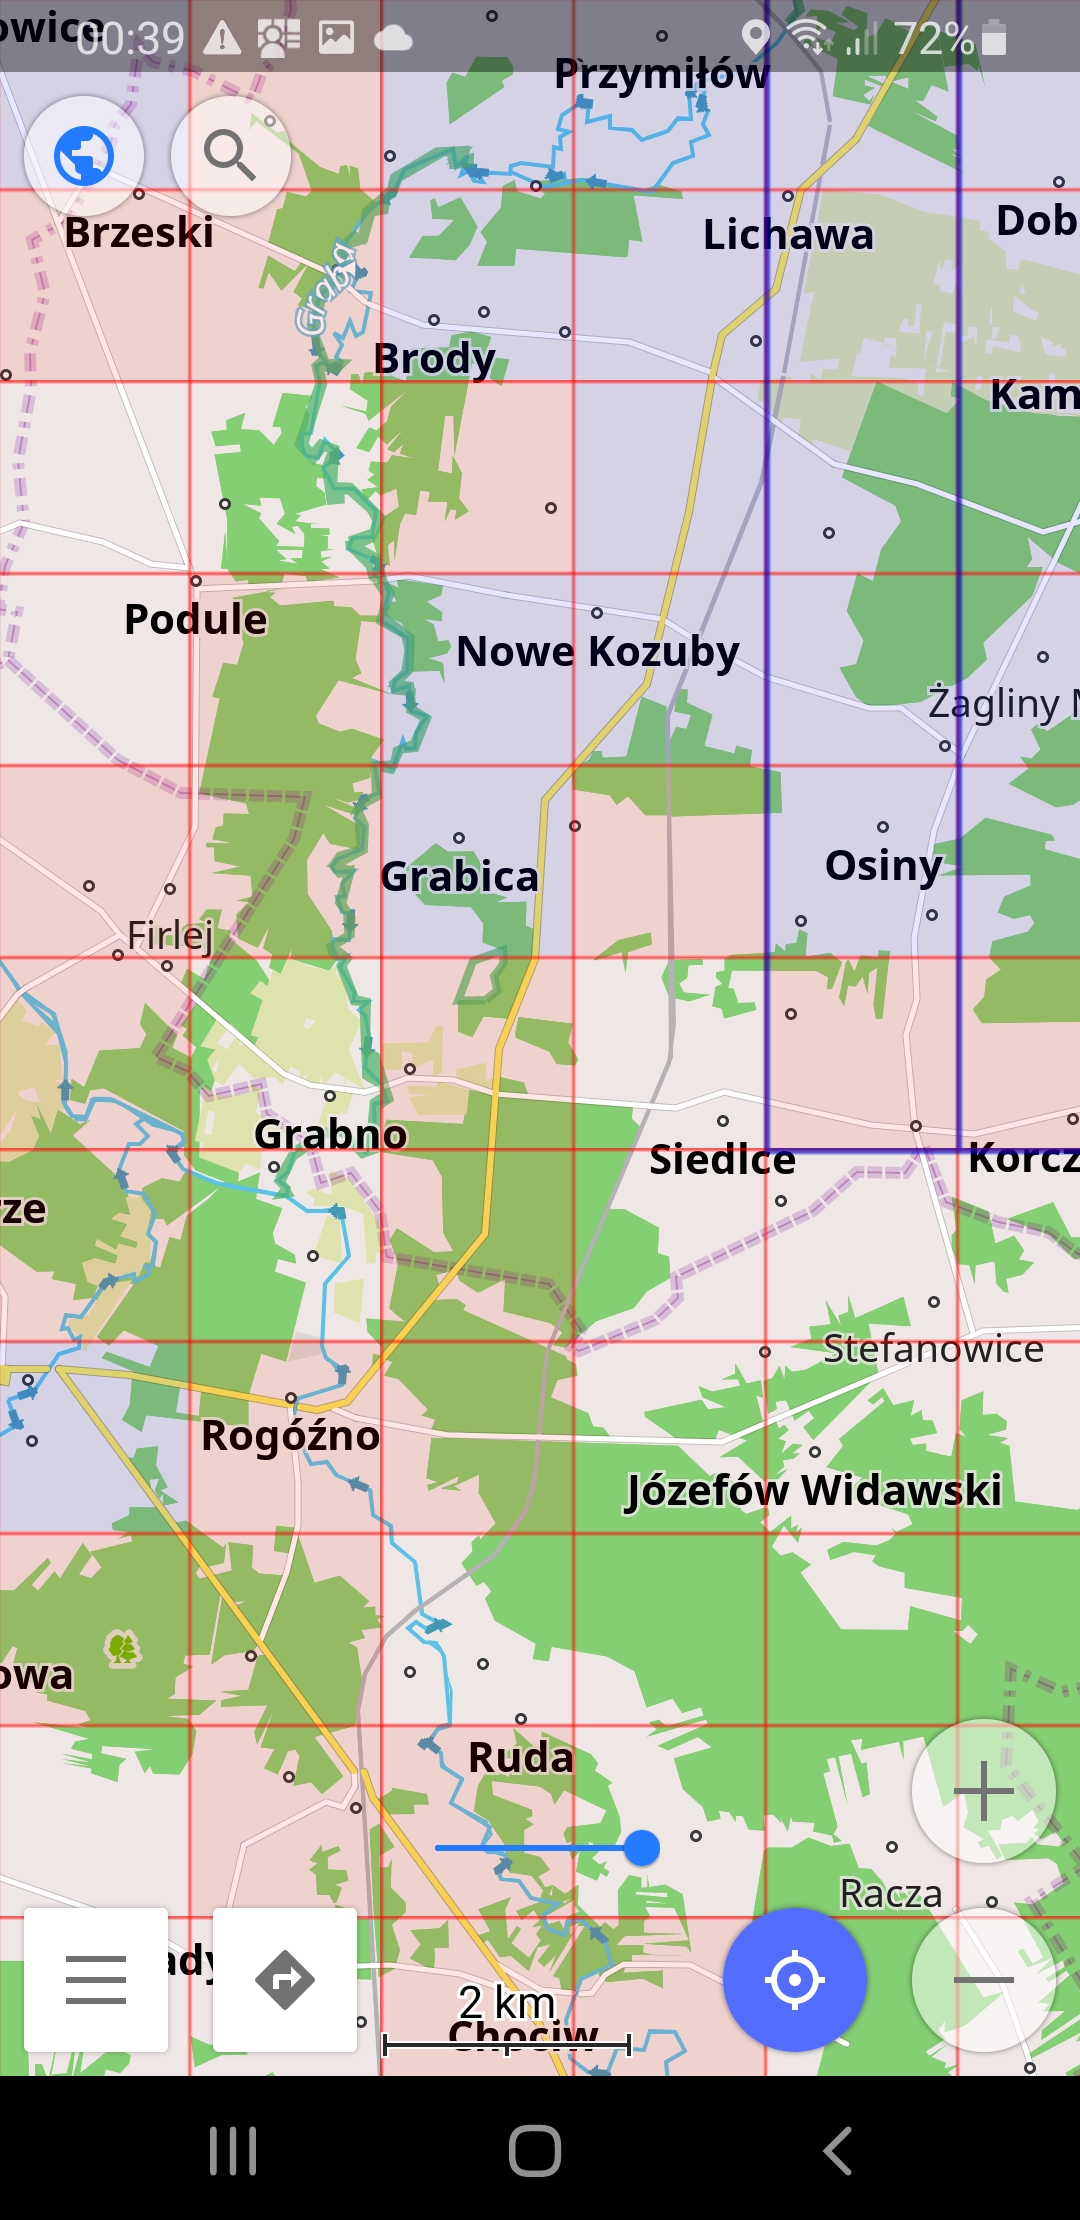
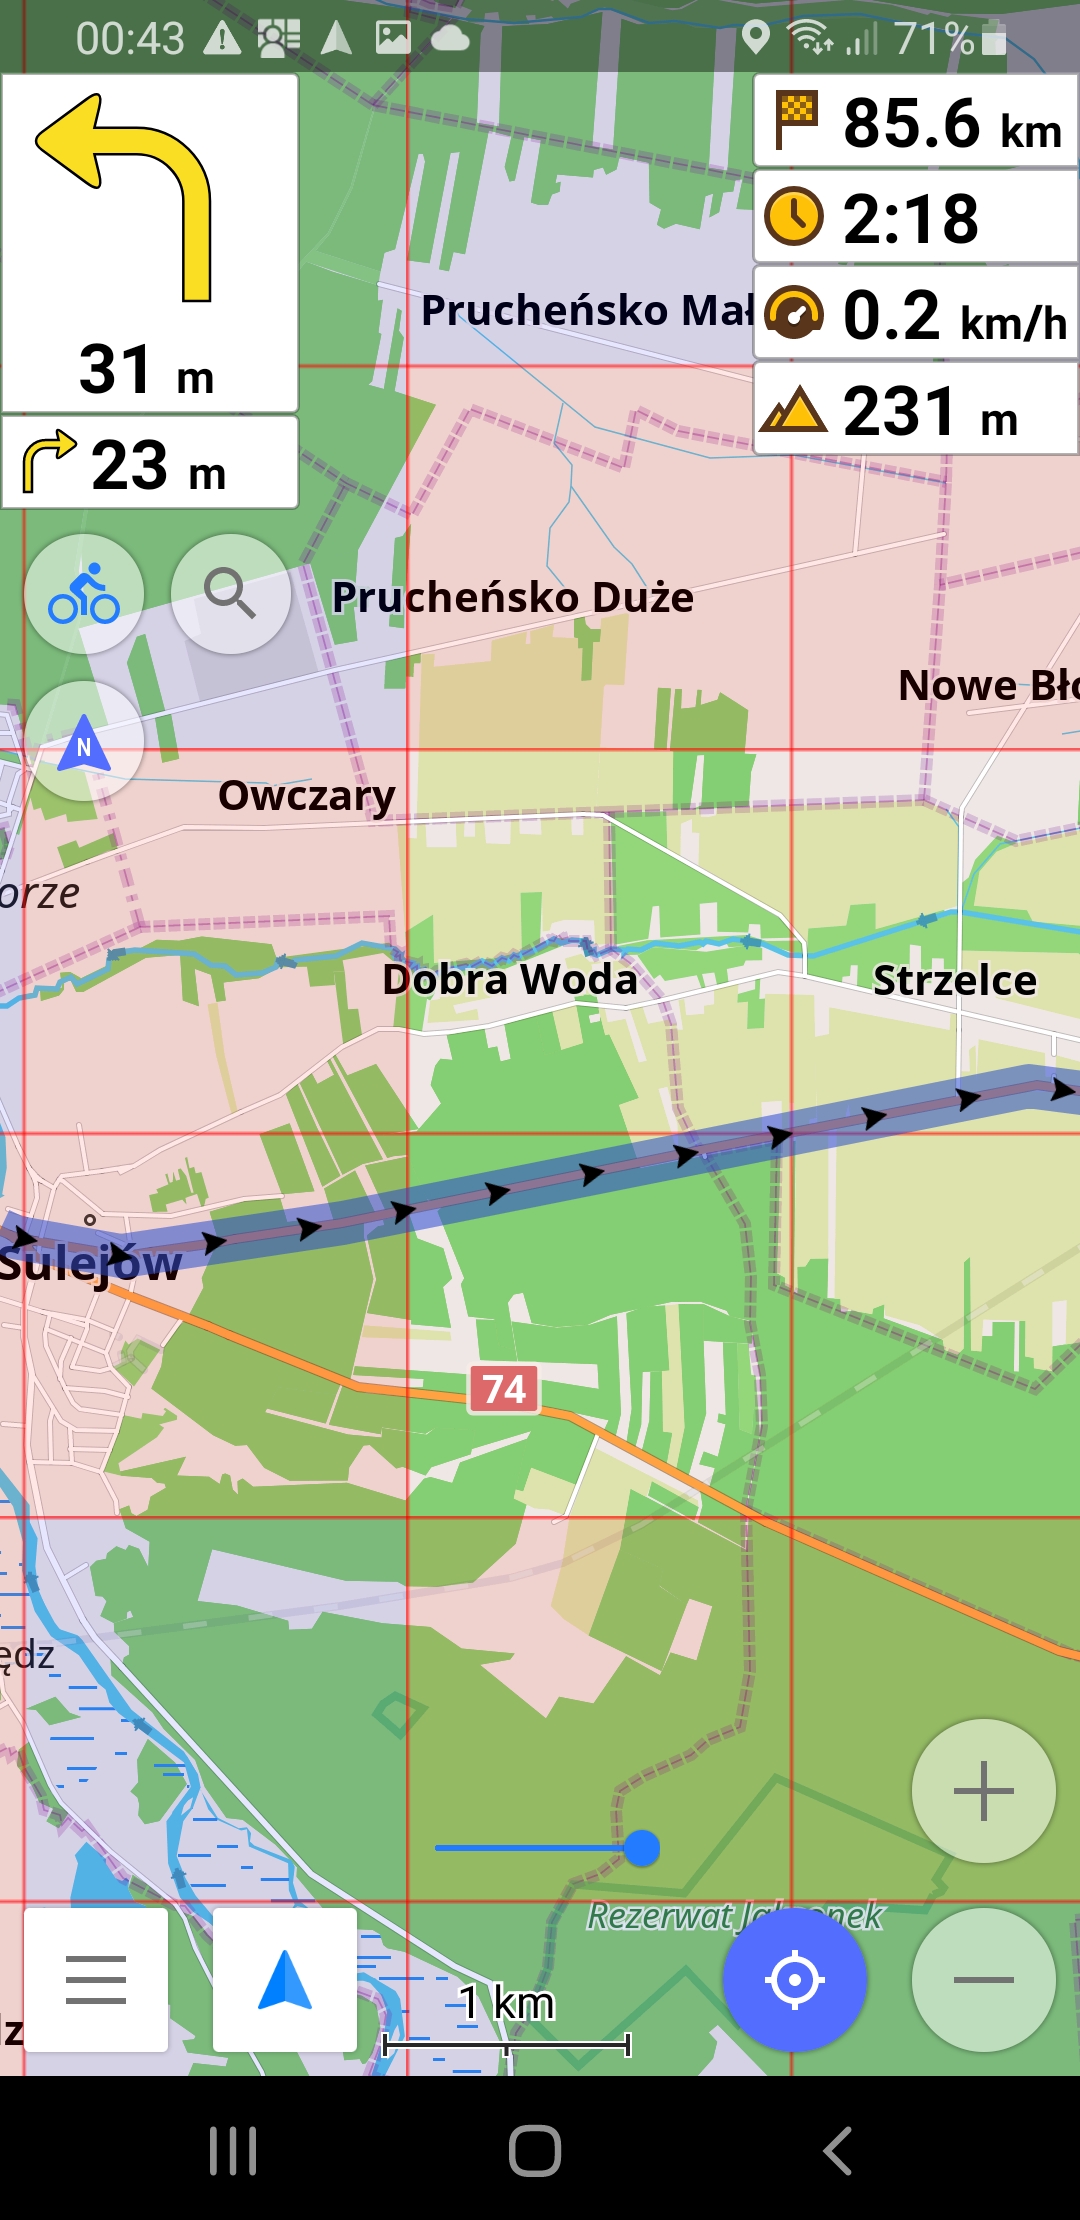
Step 1. Install OsmAnd
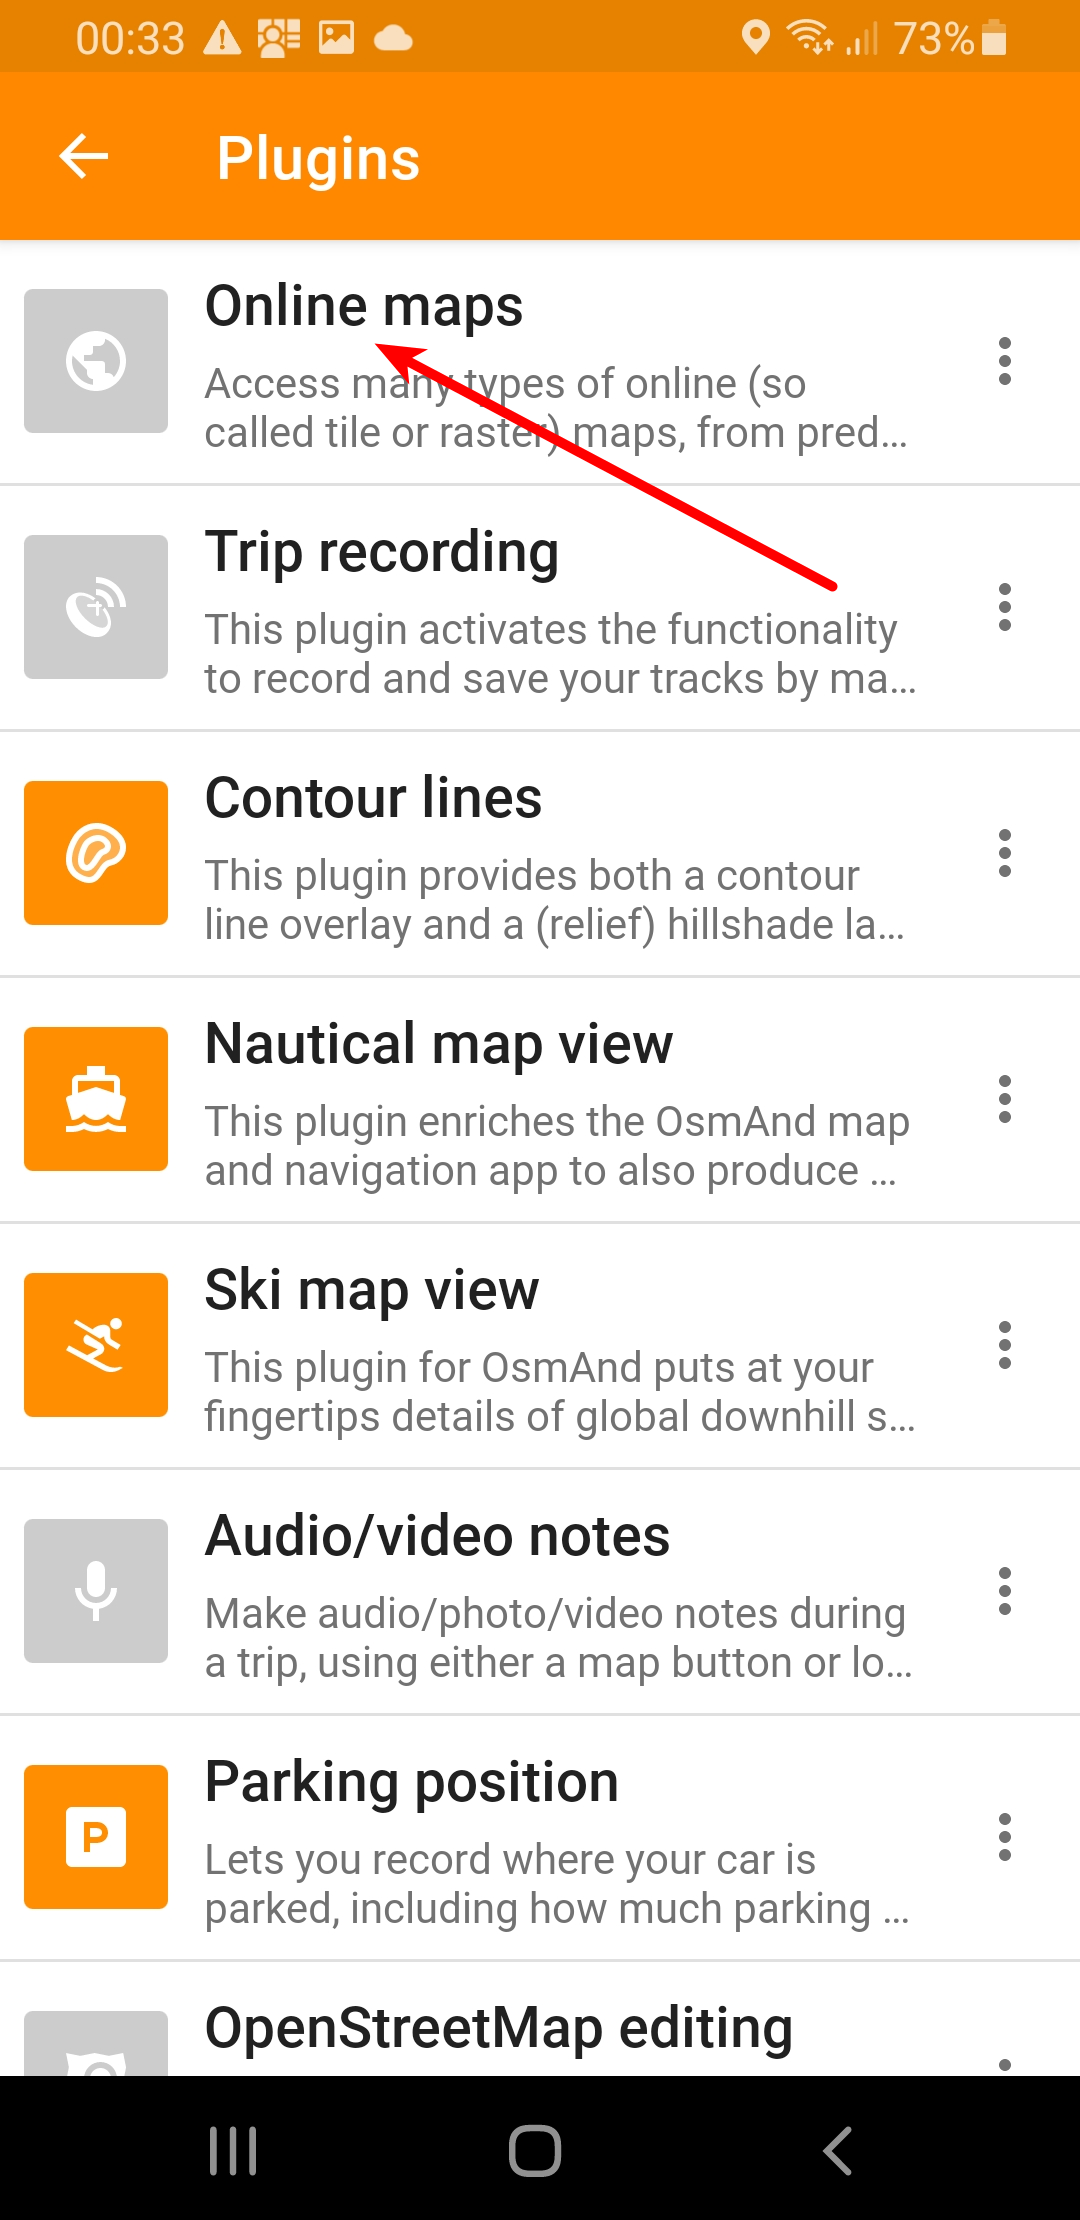
Install OsmAnd on your smartphone. Tested with OsmAnd+ 3.9.10 (Android) and 3.9.7 (iOS)Step 2. Enable Online Maps plugin
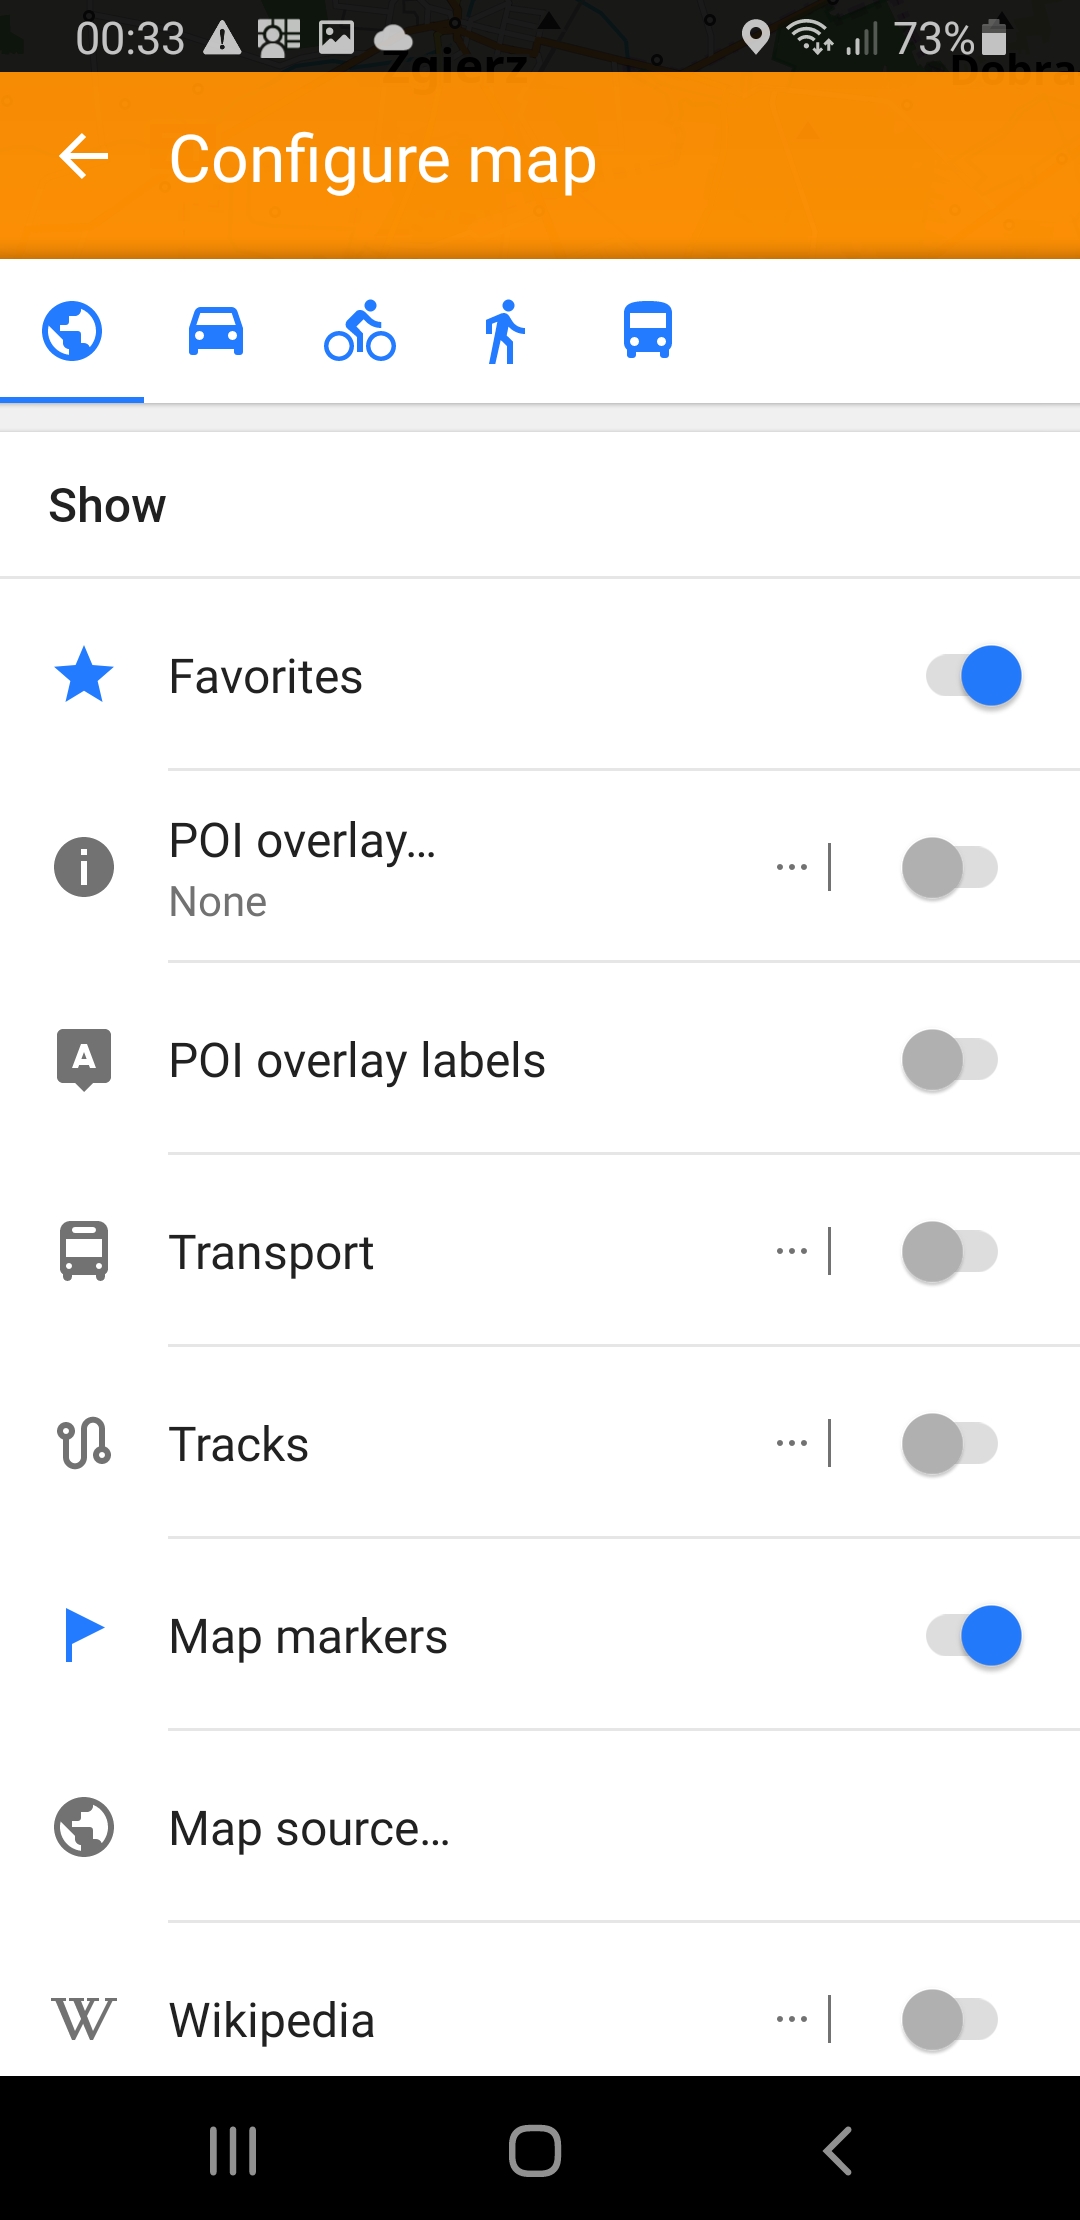
Step 3. Add new Map Source
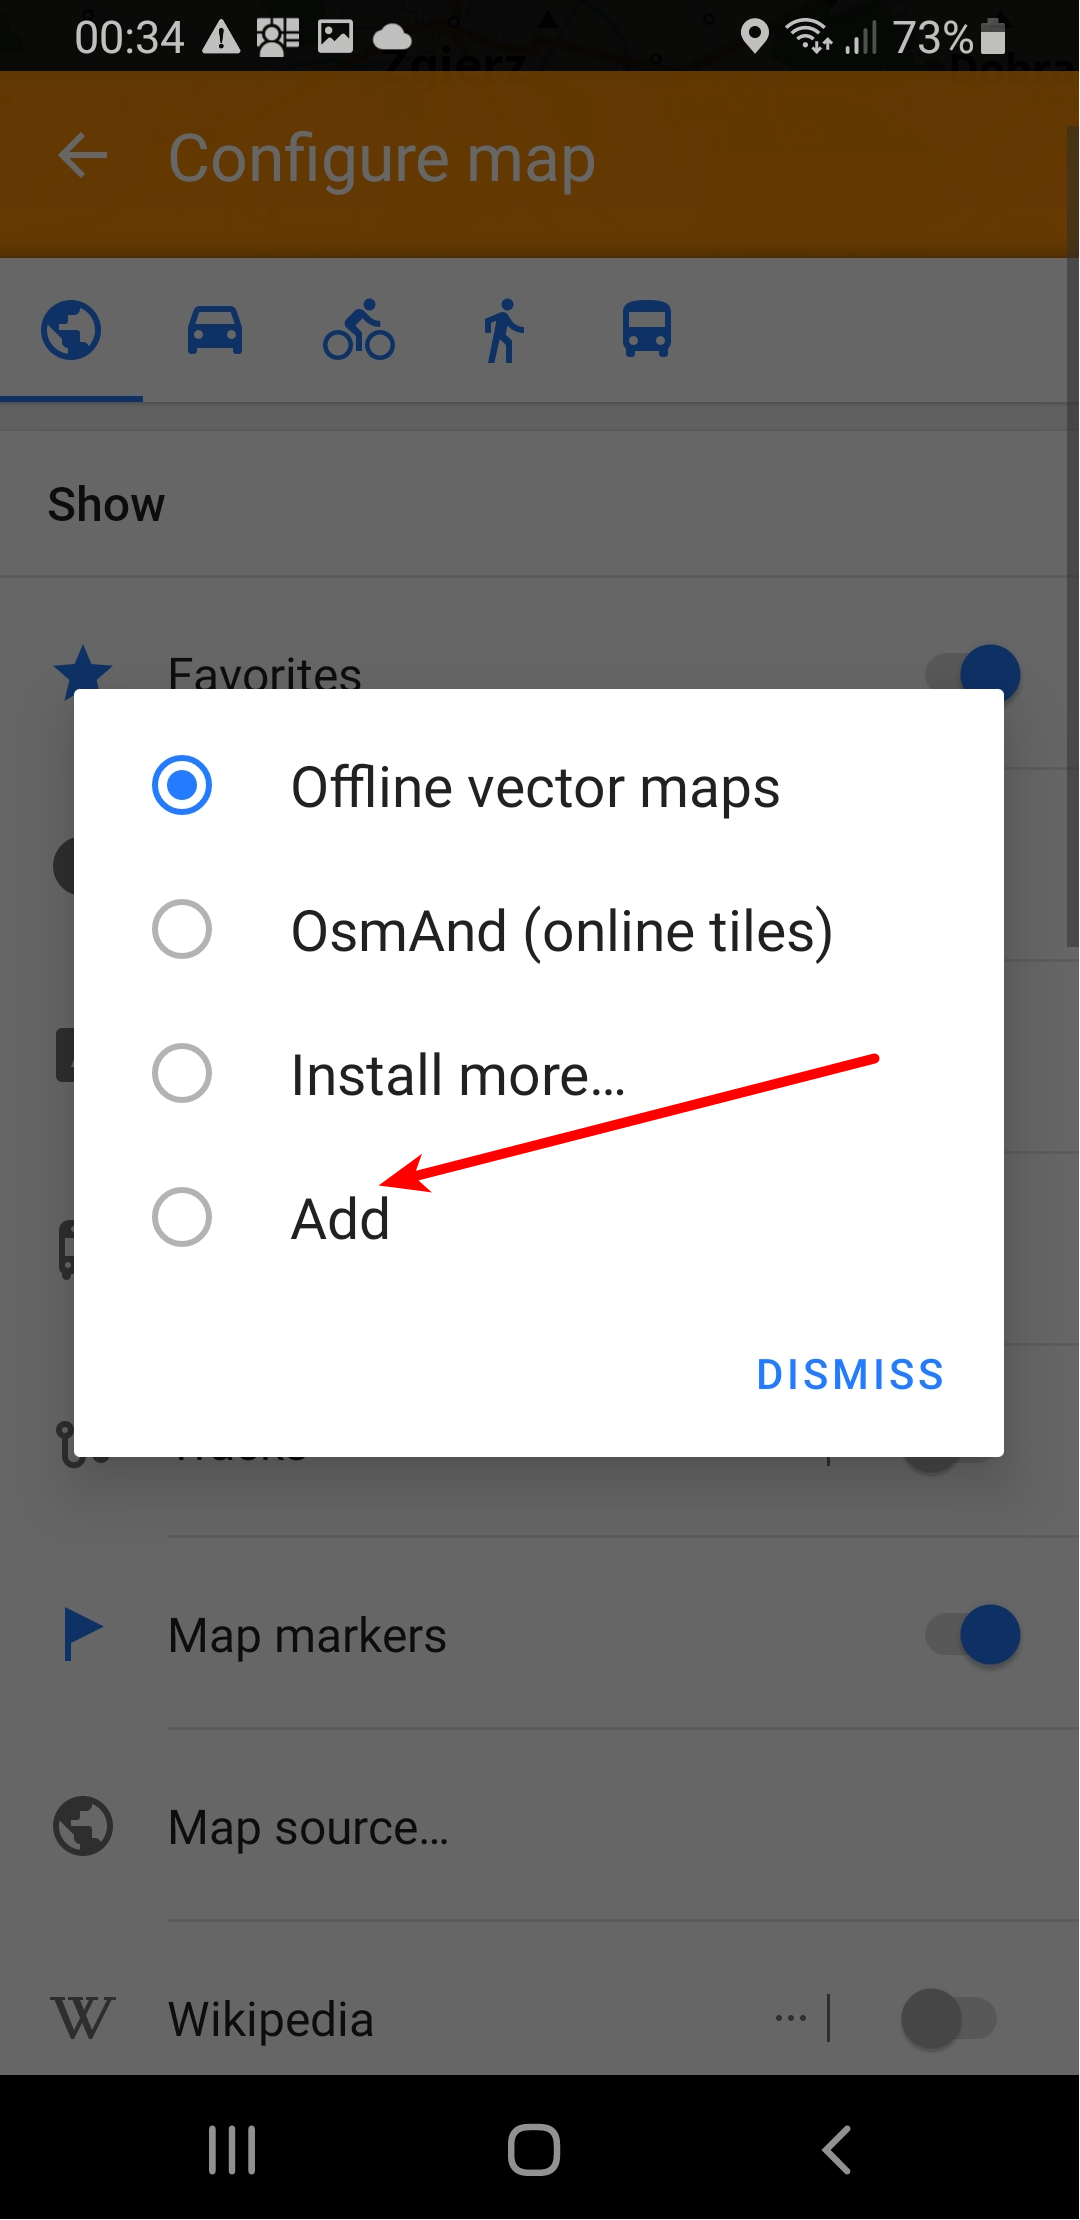
In Configure Map menu theres Map Source - select it and then choose Add
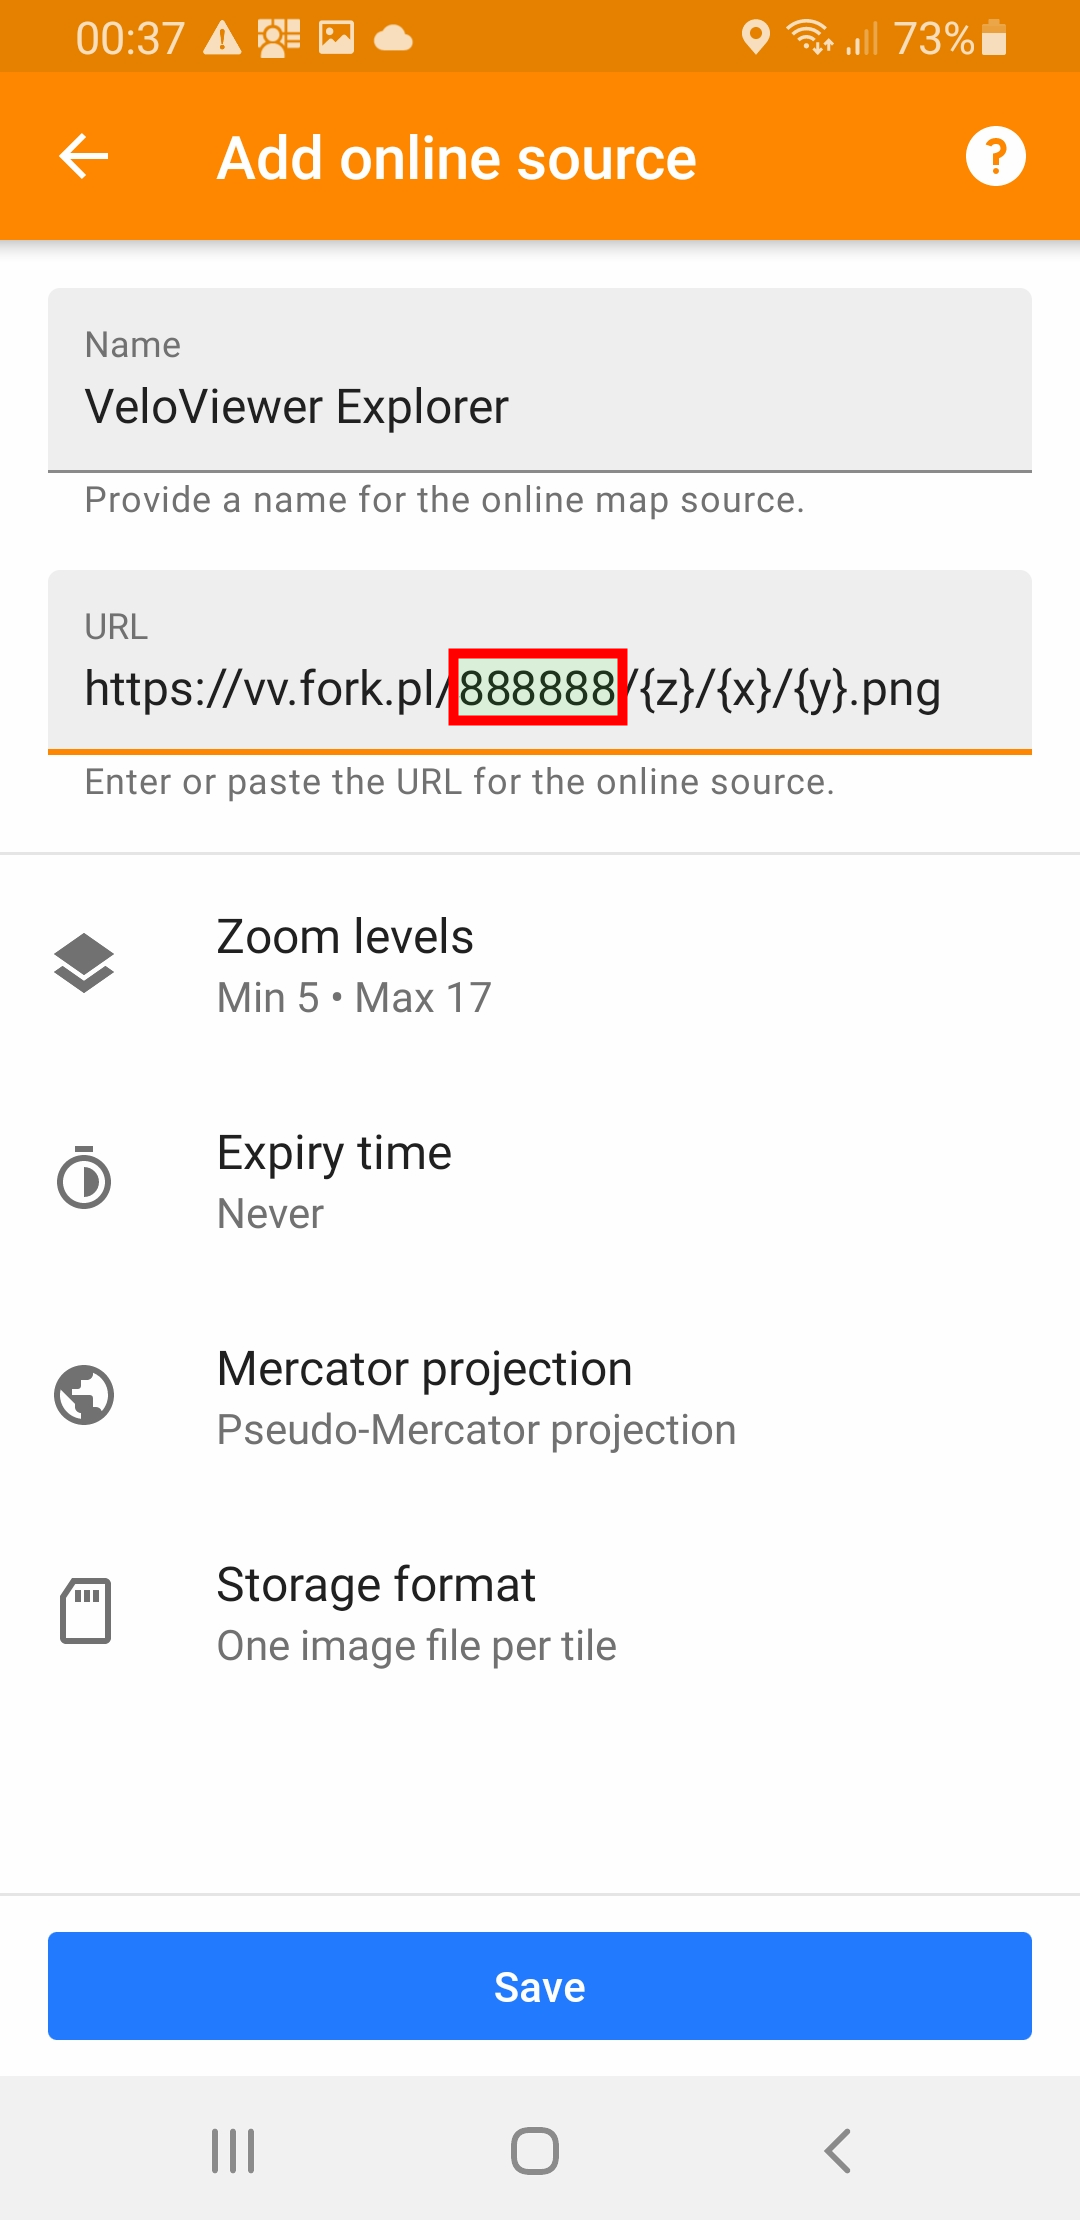
Step 4. Setup Overlay - fill the form
- Name of the source
- Layer URL (with your VeloViewer ID)
*** setup VeloViewer ID or StatHunters API key first *** - Save
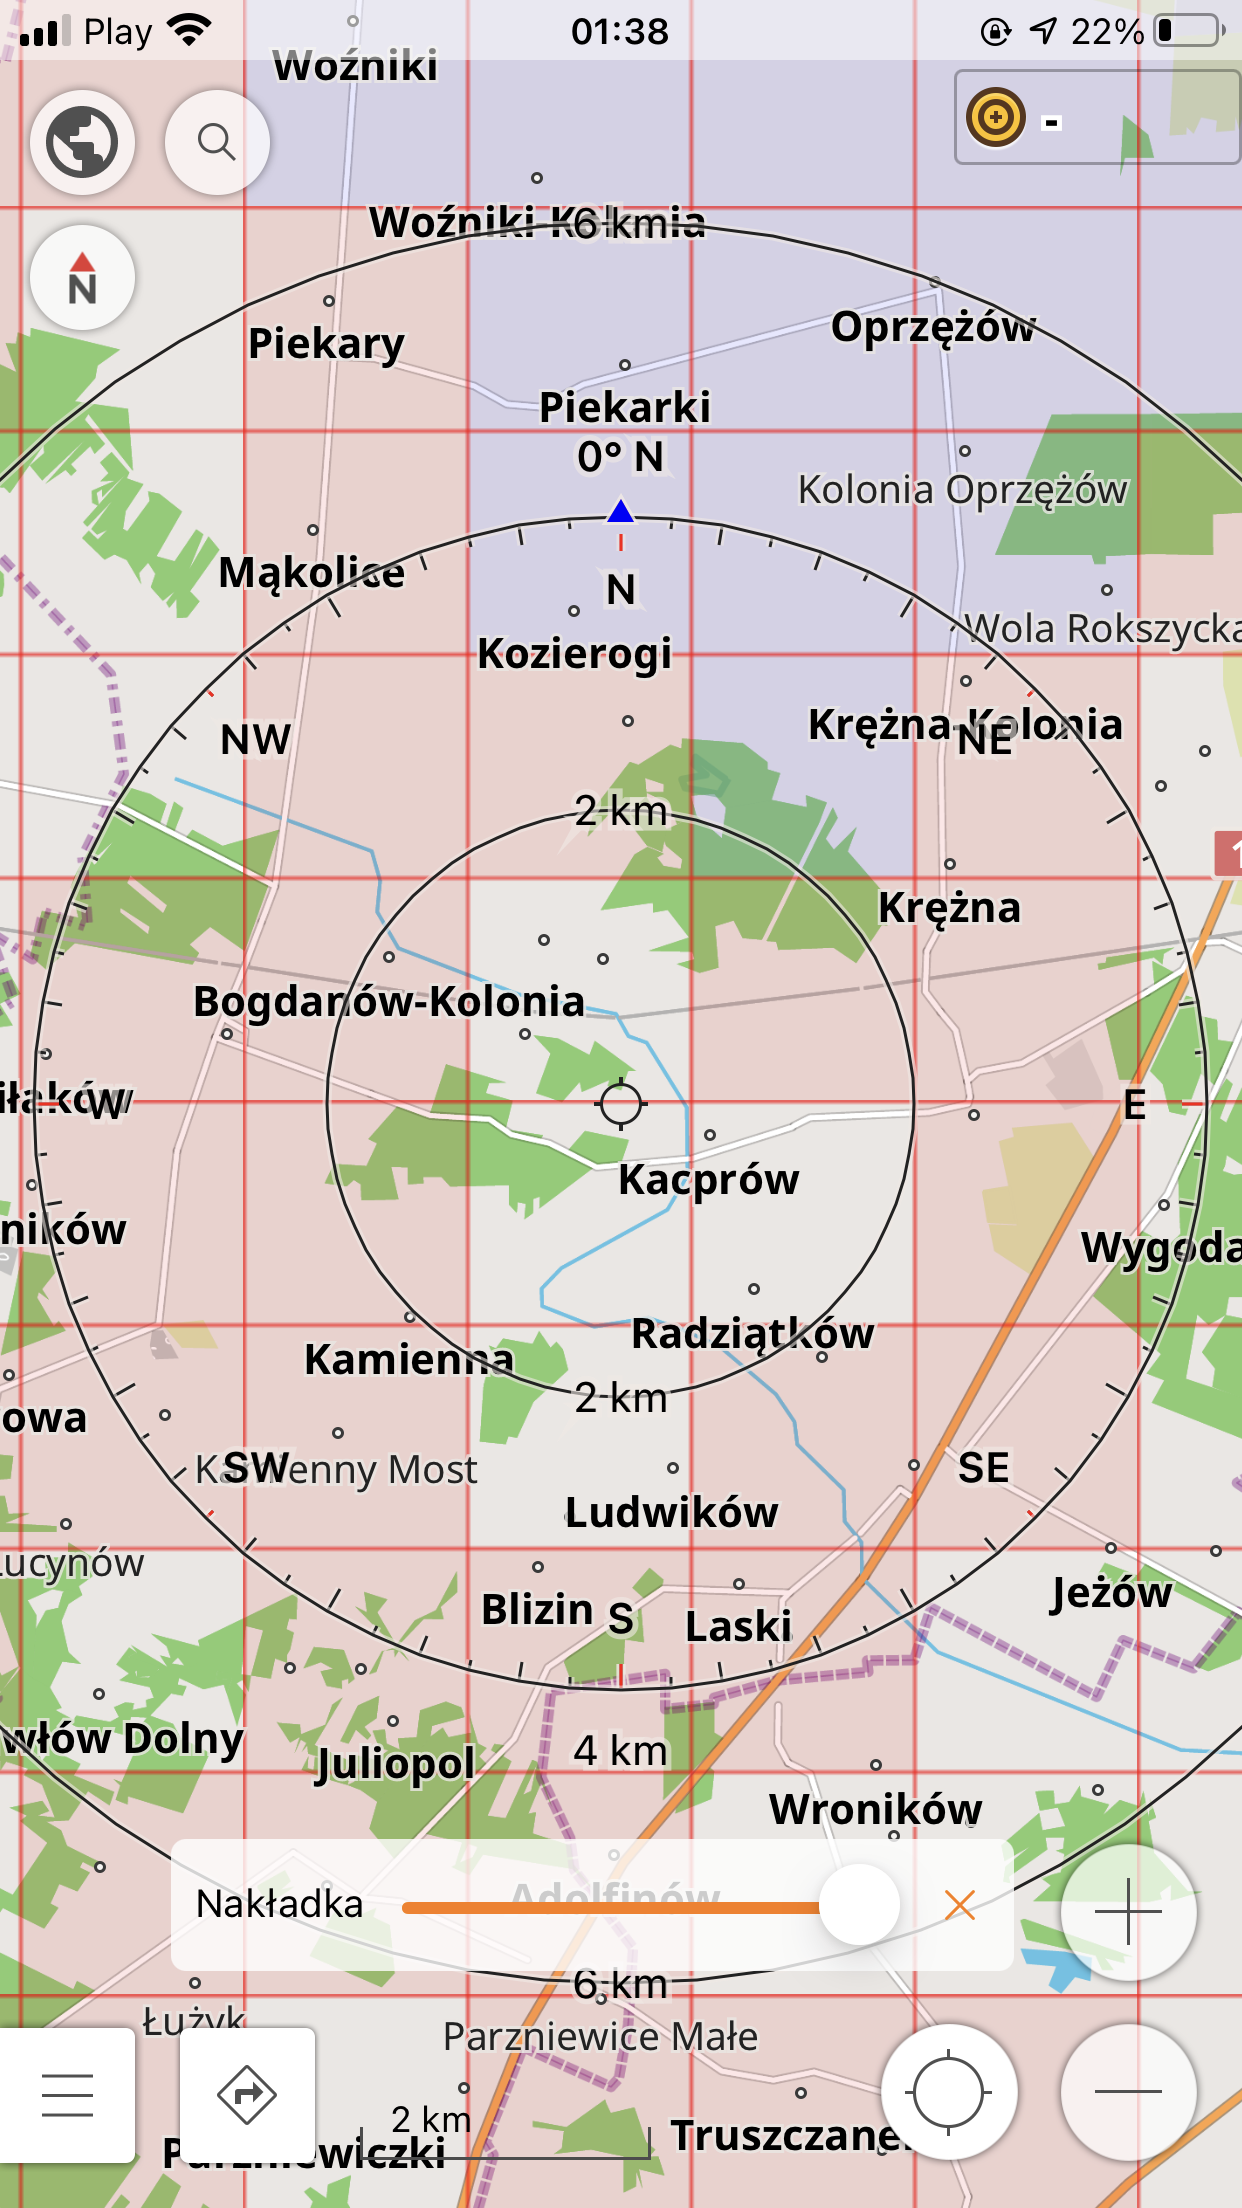
Important: iOS OsmAnd required different format of URL template ({z}/{x}/{y} replaced with {0}/{1}/{2}) but they fixed it in recent versions.
Step 5. Enable Overlay
Go to Configure Map / Overlay Map
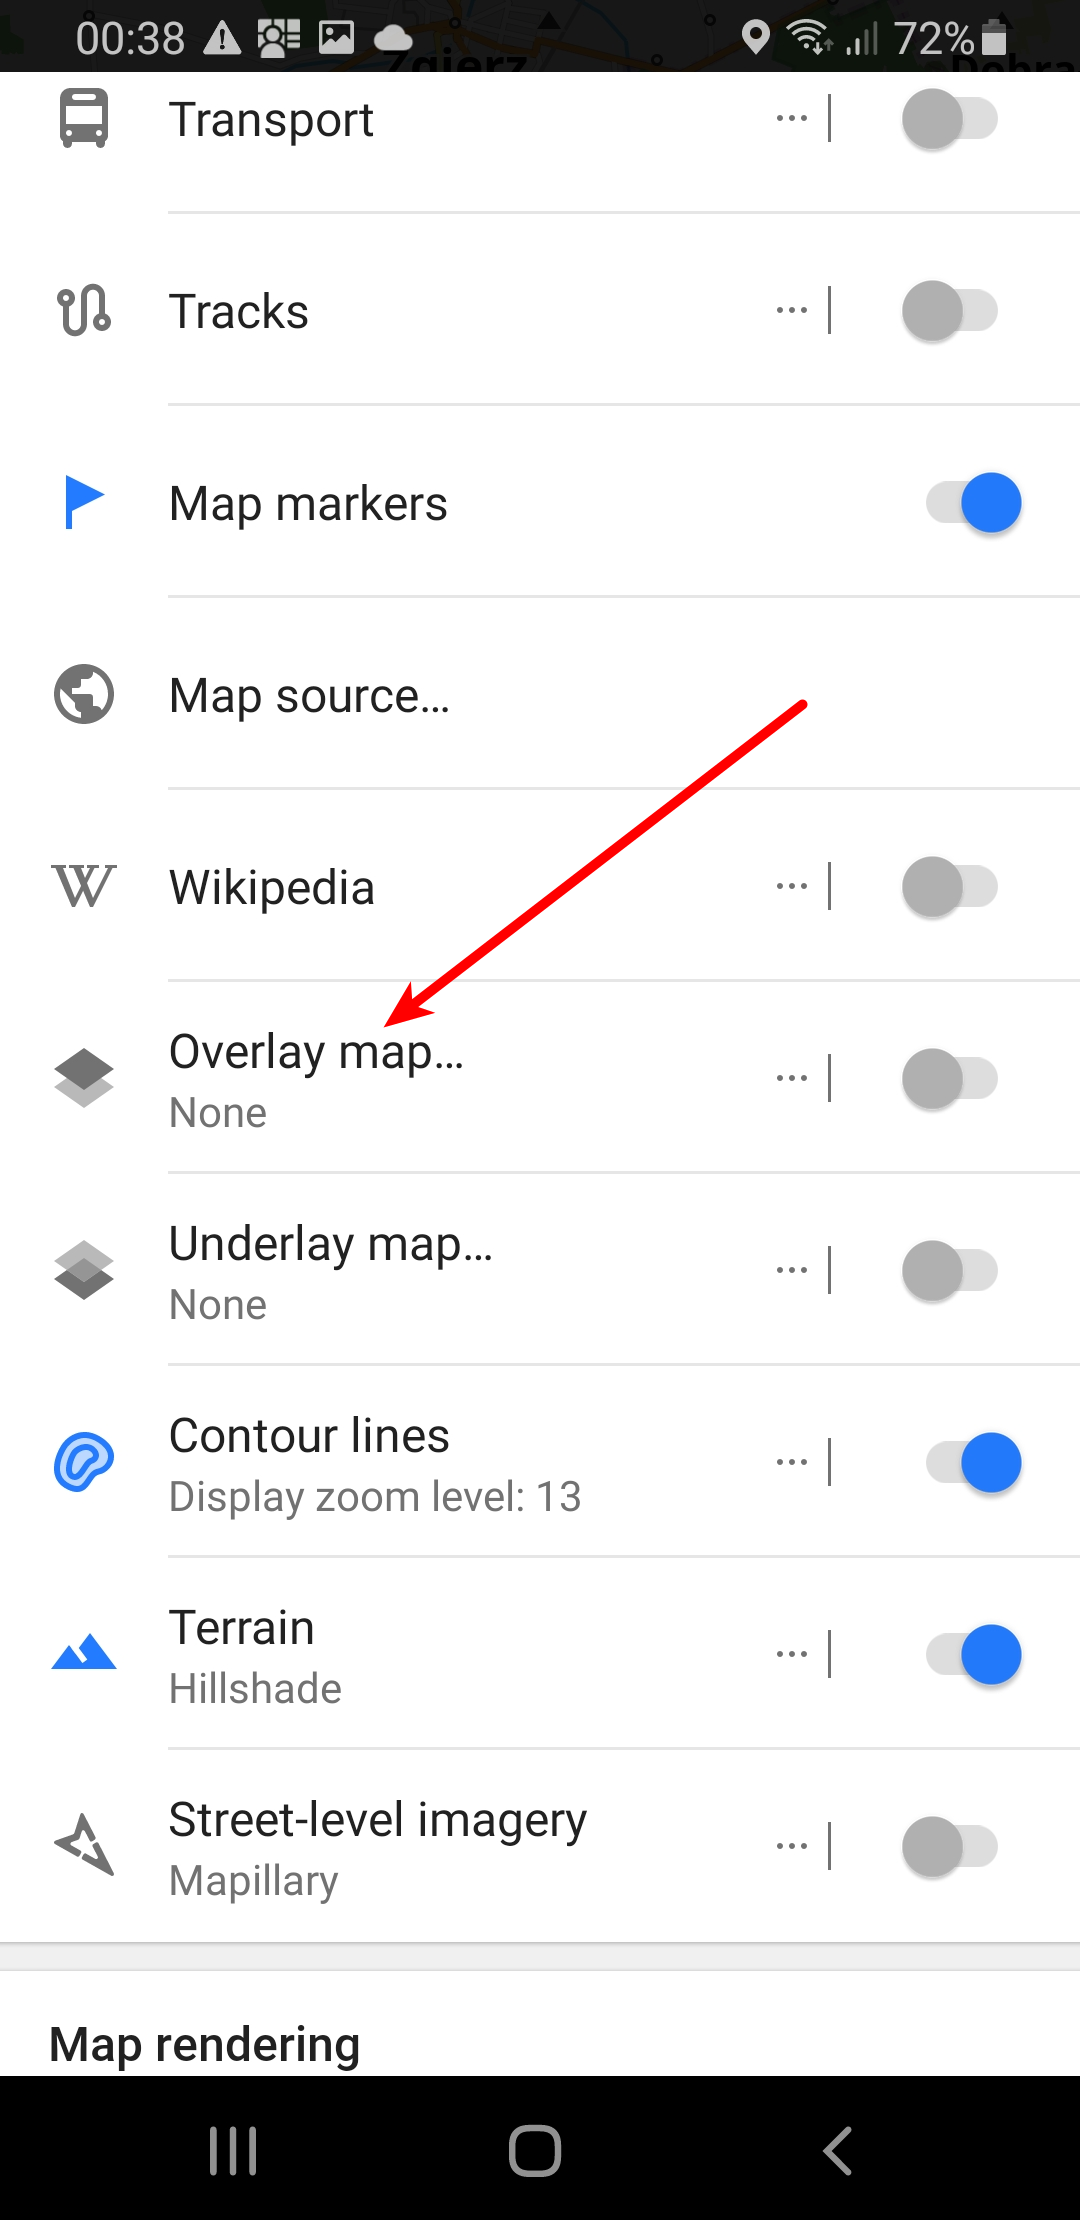
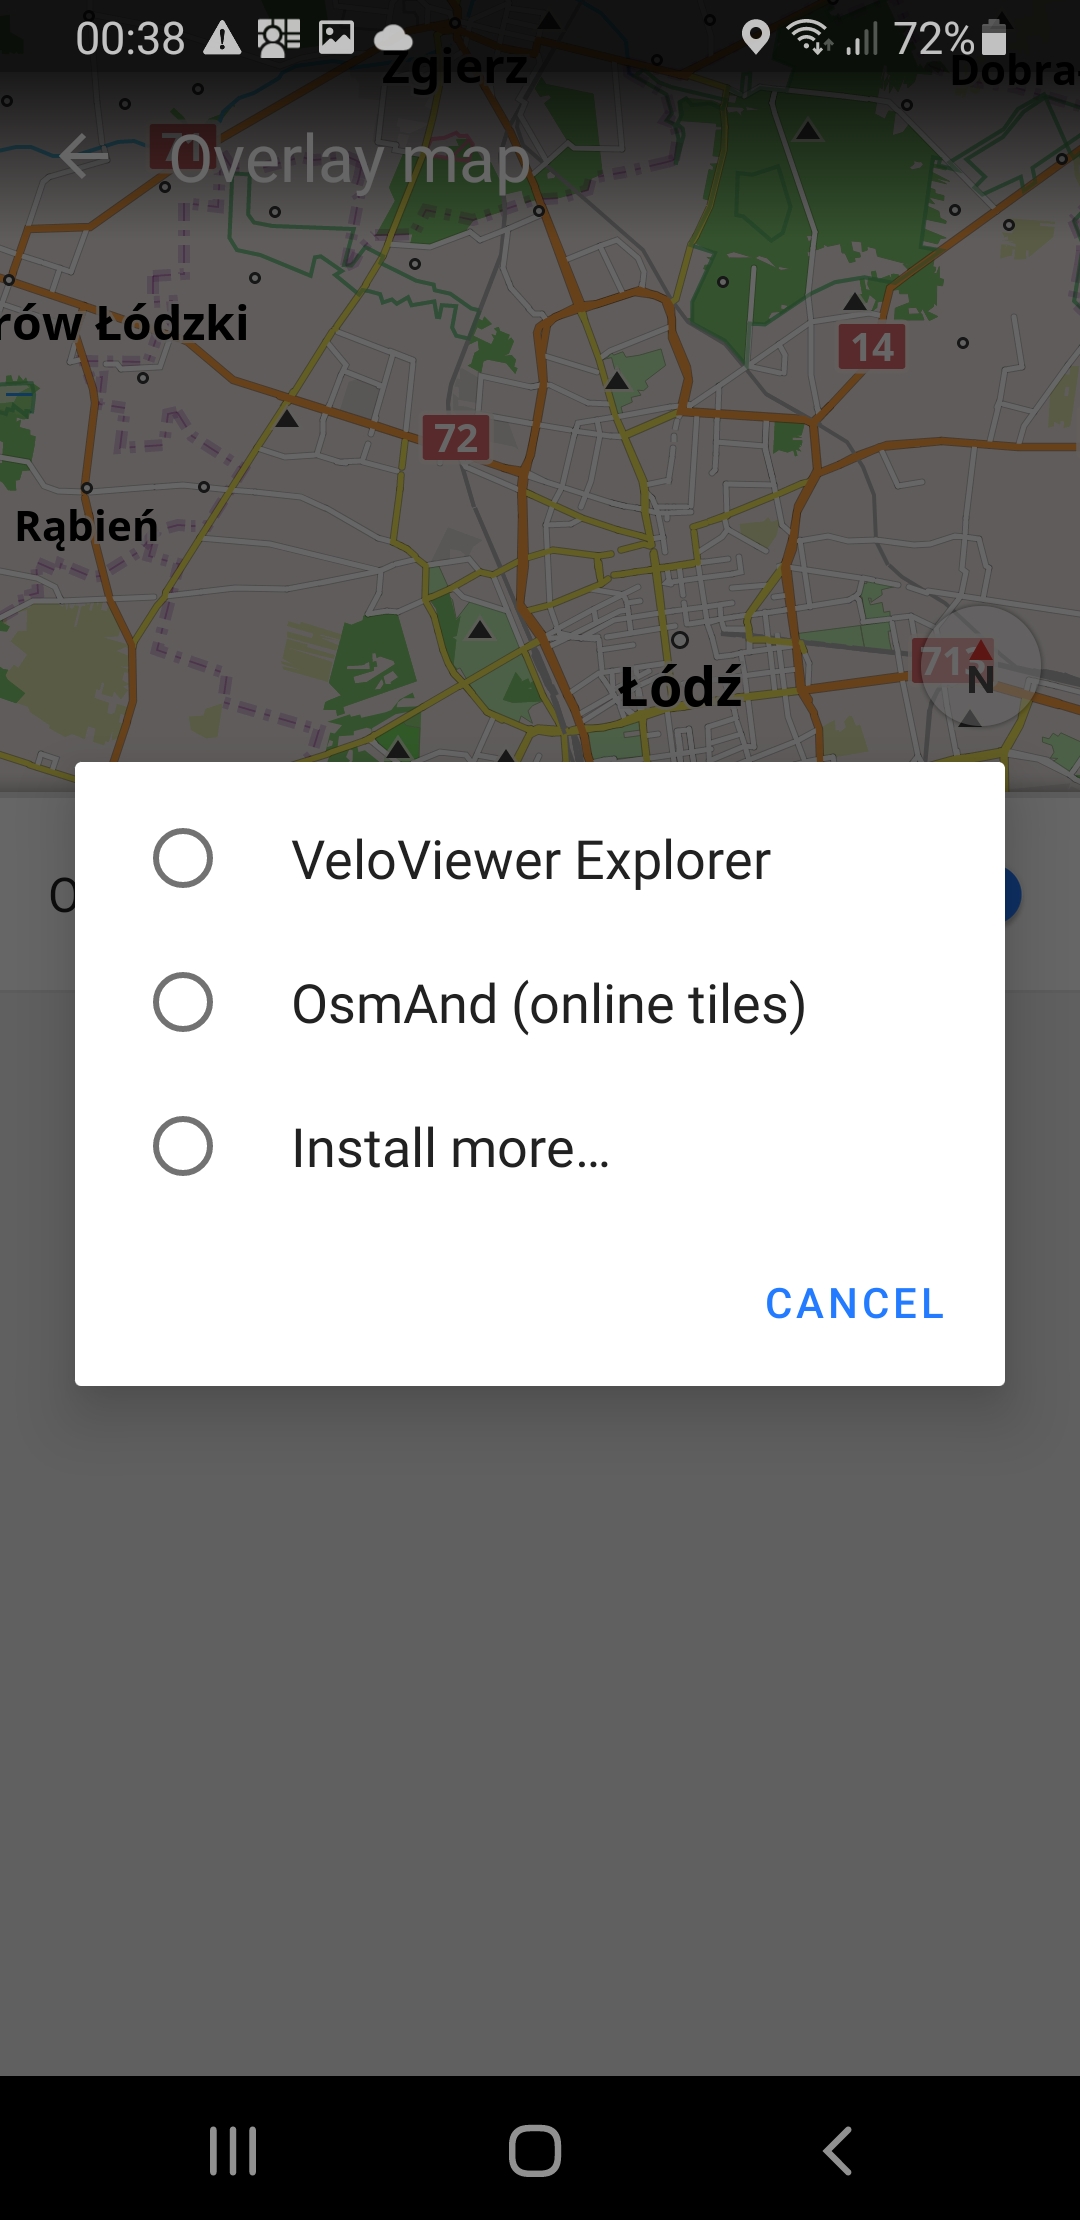
Step 6. Choose Overlay
Choose VeloViewer Explorer you added on Step 4. You can set transparency to the max, because Overlay is already served as transparent (you will be able to make it even less visible with tranparency seekbar (if you choose to enable it).
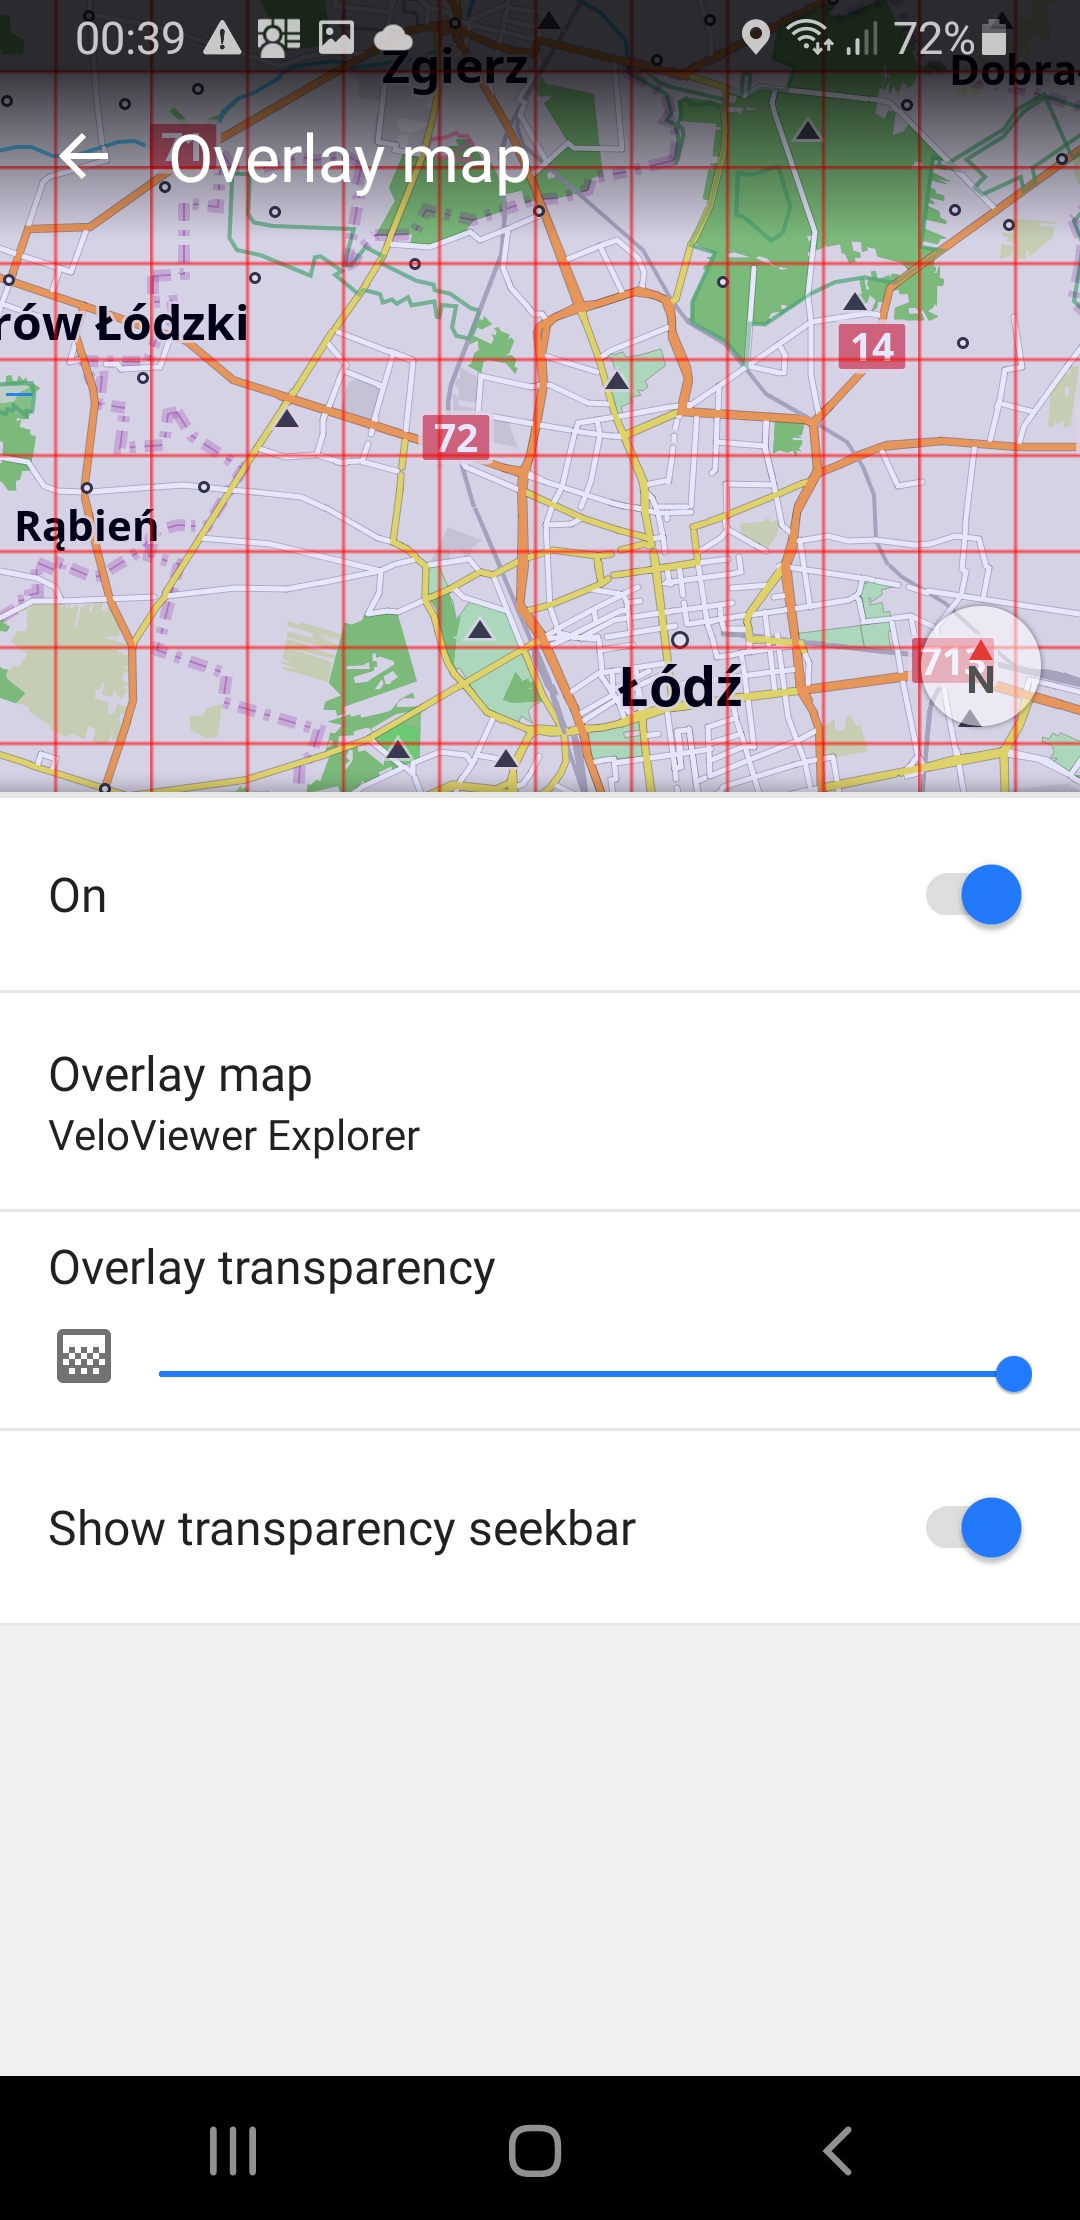
Step 7. Have fun
The overlay should be immediately visible
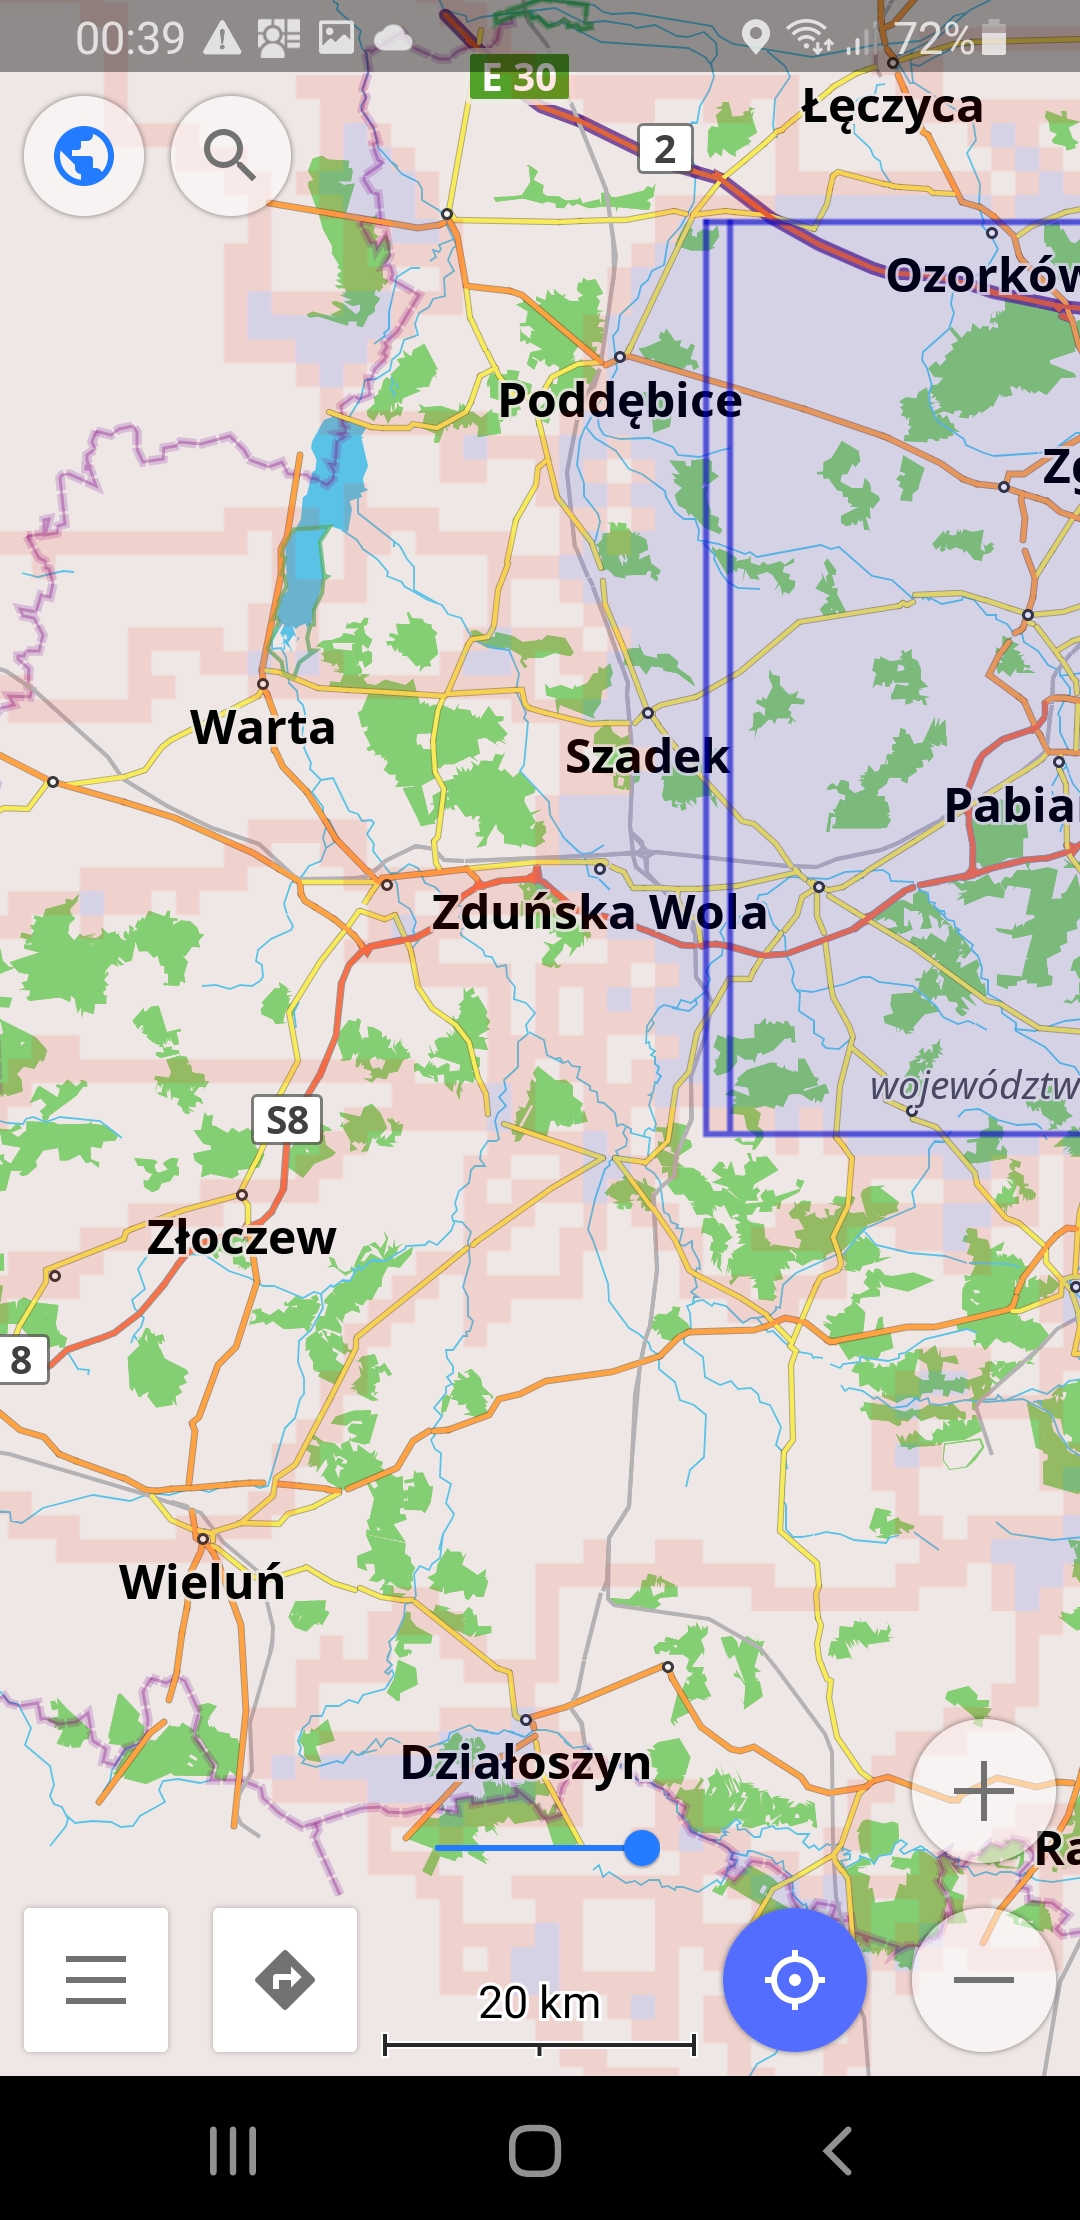
iOS Version
Tile opions
You can specify customize tile colors etc. with several options.
Add one or more parameters between id element and coordinates. Options are separated with single slash "/", name is separated from value with single hyphen "-".
Options
| option name | decription | option value | default value |
|---|---|---|---|
| ms | show max square frame | 1 (visible) or 0 (hidden) | 1 |
| cl | show cluster squares | 1 (show cluster squares with different color) or 0 (don't distinguish cluster squares) | 1 |
| zz | zoom level | square base zoom level, 14 for standard squares, 17 for sqadratinhos (ony grid is supported) | 14 |
| cv | color of visited square | rgb color as 6-digit hex number | ff0000 |
| cc | color of cluster squares | rgb color as 6-digit hex number | 0000ff |
| cg | color of grid | rgb color as 6-digit hex number | ff0000 |
| cm | color of max square grid | rgb color as 6-digit hex number | 0000c8 |
| tv | transparency of visited square | integer 0-127 (0 - opaque, 127 - transparent) | 115 |
| tc | transparency of cluster squares | integer 0-127 | 115 |
| tg | transparency of grid | integer 0-127 | 50 |
| tm | transparency of max square grid | integer 0-127 | 50 |
Examples
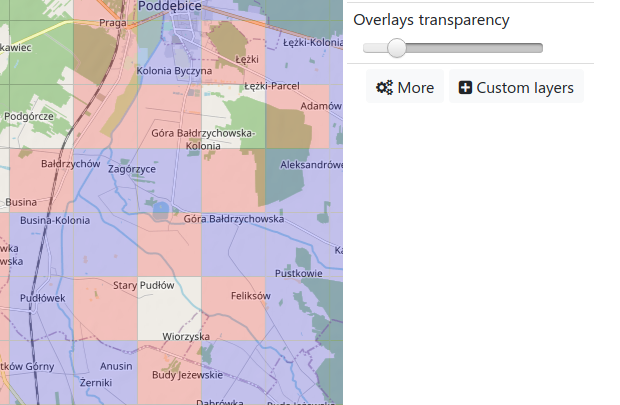
Change colors: https://vv.fork.pl/00000000000/ms-1/cl-1/cv-00ff00/tv-100/cc-00dd00/tc-100/cg-666666/tg-20/cm-000000/tm-20/{z}/{x}/{y}.png will render view similar to
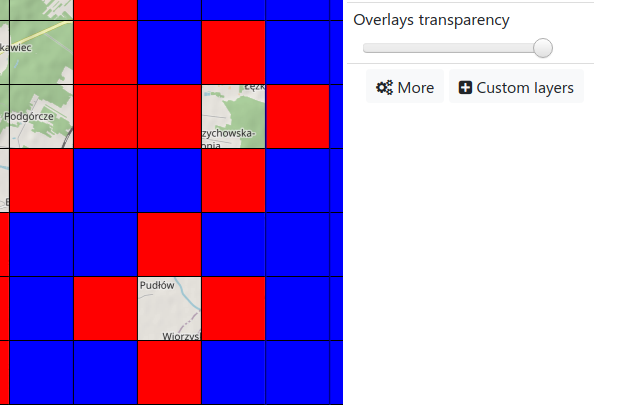
Change transparency: https://vv.fork.pl/00000000000/ms-0/tv-0/tc-0/cg-00000000/tg-0/{z}/{x}/{y}.png will render opaque tiles (and one can adjust transparency in your mapping application)
Problems?
If you have any problems please report an issue at https://github.com/marcin-gryszkalis/veloviewer-explorer-overlay/issues or just write to mg@fork.pl
Credits
This page uses:
- LightBox2 - https://github.com/lokesh/lightbox2
- Tommy Hodgins RFI theme - https://codepen.io/tomhodgins/pen/QyvmXX
